Converting Word documents to PDF is crucial for maintaining formatting and ensuring consistent viewing across various devices. This conversion process protects the content and layout, making PDFs a preferred choice for sharing official documents such as contracts and reports. PDFs not only preserve the original design but also enhance security, as they are less susceptible to unauthorized edits.
This article demonstrates how to convert Word documents to PDF in React using Spire.Doc for JavaScript. It covers the installation process and provides practical examples to help you configure different conversion options efficiently.
Install Spire.Doc for JavaScript
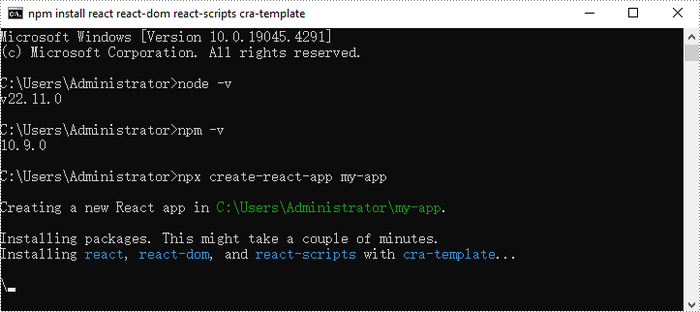
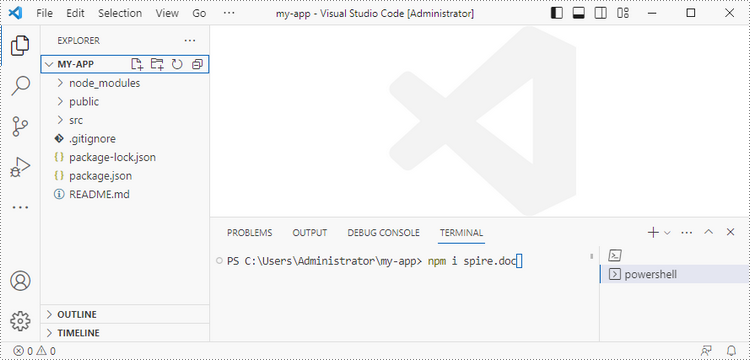
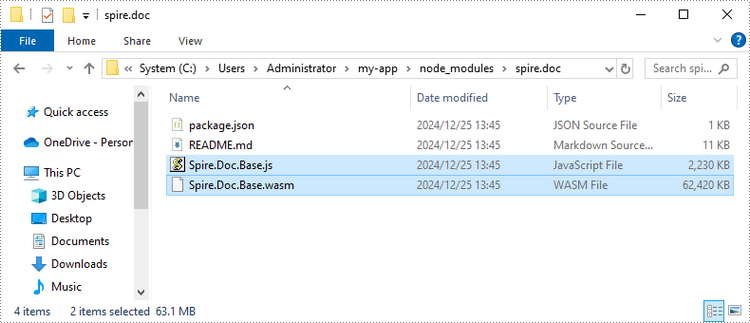
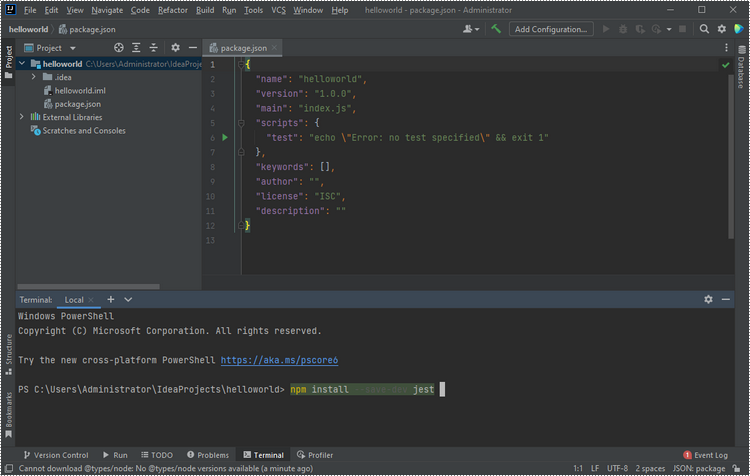
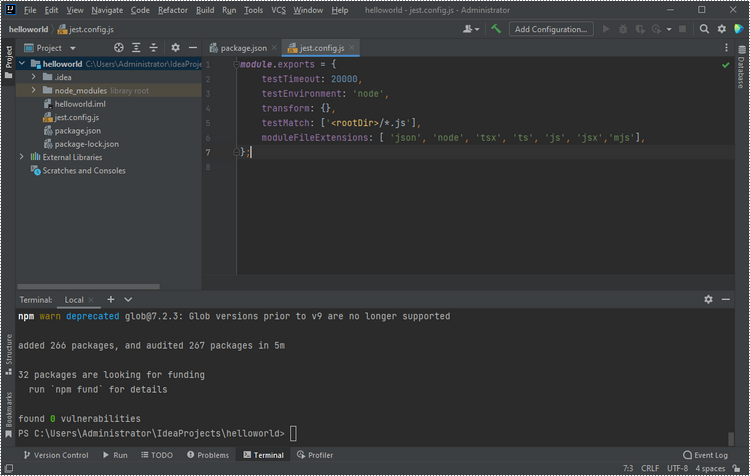
To get started with converting Word documents to PDF in a React application, you can either download Spire.Doc for JavaScript from our website or install it via npm with the following command:
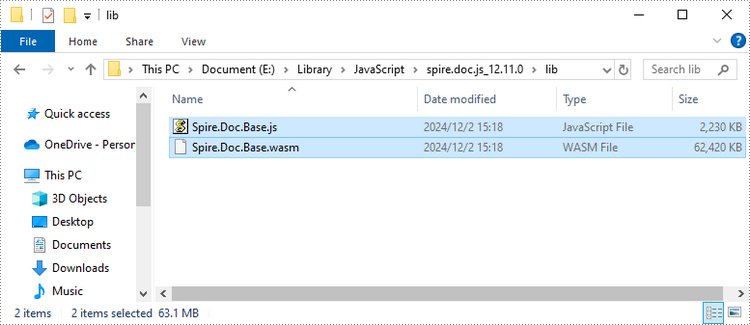
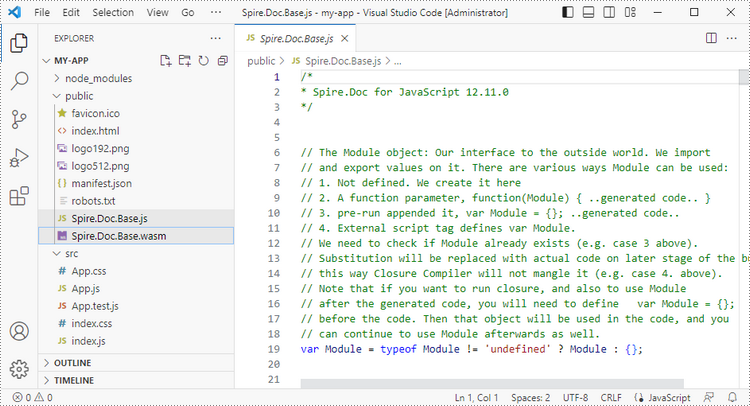
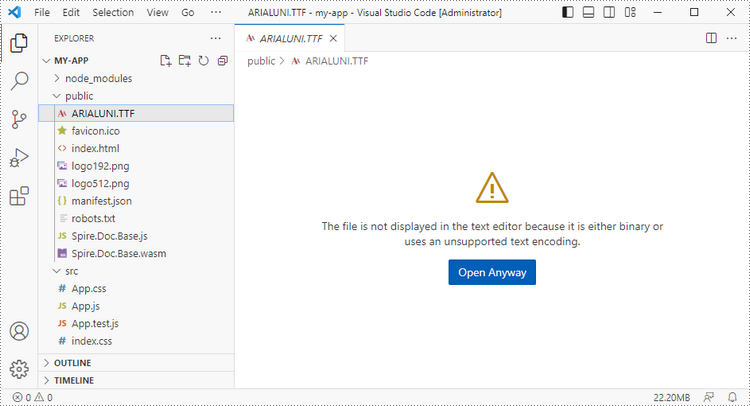
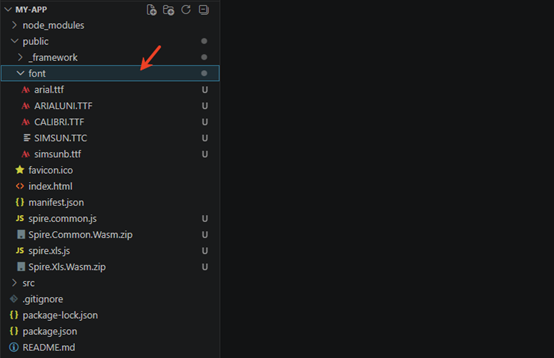
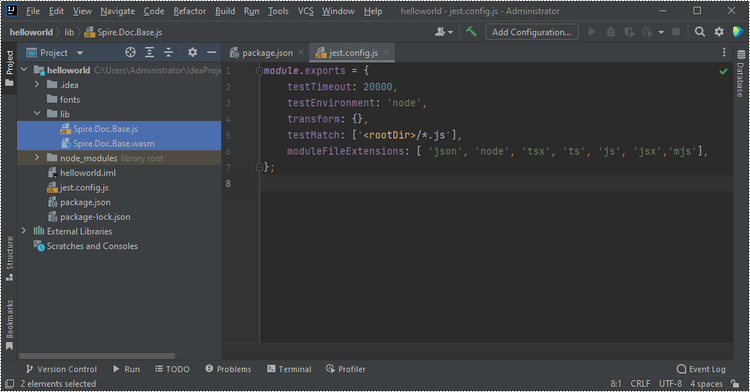
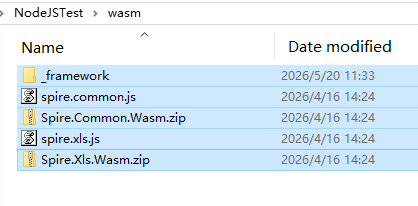
The downloaded product package integrates Spire.Doc for JavaScript, Spire.XLS for JavaScript, Spire.PDF for JavaScript, and Spire.Presentation for JavaScript. To use the features of Spire.Doc for JavaScript, you need to copy the corresponding files (spire.doc.js, Spire.Doc.Wasm.zip, spire.common.js, Spire.Common.Wasm.zip, and the _framework folder) to the public folder of your project. To ensure proper text rendering, you can add relevant font files with a custom path. In the following example, the font is added to the path: public\static\font.
For more details, refer to the documentation: How to Integrate Spire.Doc for JavaScript in a React Project
General Steps to Convert Word to PDF in React
Converting Word documents to PDF in React using Spire.Doc for JavaScript involves several key steps. Here's a step-by-step guide to help you get started:
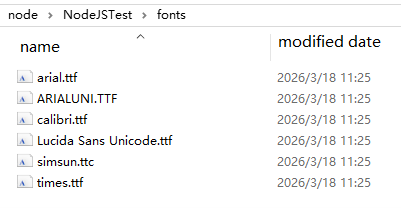
- Load Fonts: Load necessary font files into the virtual file system (VFS) for accurate rendering.
- Prepare Document: Fetch the input Word file, create a new document, and load the file into it.
- Set PDF Conversion Parameters: Configure any necessary conversion options, such as embedding fonts or preserving bookmarks.
- Convert to PDF: Convert the document to PDF with the specified options.
- Download PDF: Read the generated PDF from the VFS, create a Blob object, and trigger the download for the user.
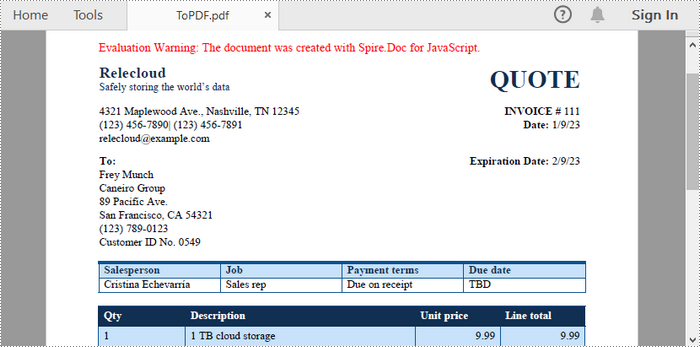
Convert Word to PDF with Installed Fonts Embedded
When converting documents, you may want to ensure that all fonts used in the Word document are embedded into the PDF. This is especially important for maintaining the document's layout.
Spire.Doc for JavaScript offer the ToPdfParameterList class to customize the conversion options. The key parameter set here is IsEmbeddedAllFonts, which guarantees that all fonts are included in the final PDF.
The following code snippet demonstrates how to embed installed fonts when converting Word to PDF using JavaScript.
Copy
import React, { useState, useEffect } from 'react';

function App() {
  const [wasmModule, setWasmModule] = useState(null);
  // Load Spire.Doc
  useEffect(() => {
    (async () => {
      try {
        const publicUrl = process.env.PUBLIC_URL || '';
        const spireModule = await import(/* webpackIgnore: true */ `${publicUrl}/spire.doc.js`);
        const rawModule = spireModule.default || spireModule;
        window.wasmModule = typeof rawModule === 'function'
          ? await rawModule({ locateFile: p => p.endsWith('.wasm') ? `${publicUrl}/${p}` : p })
          : rawModule;
        setWasmModule(window.wasmModule);
      } catch (error) {
        console.error('Failed to load spire.doc.js WASM module:', error);
      }
    })();
  }, []);

  // Function to convert Word to PDF
  const convertWordToPdf = async () => {
    const wasmModule = window.wasmModule.spiredoc;
    if (wasmModule) {
      // Load the font files into the virtual file system (VFS)
      await window.spire.FetchFileToVFS('times.ttf', '/Library/Fonts/', `${process.env.PUBLIC_URL}/static/font/`);
      await window.spire.FetchFileToVFS('timesbd.ttf', '/Library/Fonts/', `${process.env.PUBLIC_URL}/static/font/`);
      await window.spire.FetchFileToVFS('timesbi.ttf', '/Library/Fonts/', `${process.env.PUBLIC_URL}/static/font/`);
      await window.spire.FetchFileToVFS('timesi.ttf', '/Library/Fonts/', `${process.env.PUBLIC_URL}/static/font/`);

      // Fetch the input file and add it to the VFS
      const inputFileName = 'input.docx';
      await window.spire.FetchFileToVFS(inputFileName, '', `${process.env.PUBLIC_URL}/static/data/`);

      // Create a new document
      const doc = new wasmModule.Document();

      // Load the word file
      doc.LoadFromFile(inputFileName);

      // Create a parameter list for the PDF conversion
      let parameters = new wasmModule.ToPdfParameterList();

      // Set the parameter to embed all fonts in the PDF
      parameters.IsEmbeddedAllFonts = true;

      // Specify the input and output file paths
      const outputFileName = 'ToPDF.pdf';

      // Save the document as a PDF file
      doc.SaveToFile({ fileName: outputFileName, paramList: parameters });

      const modifiedFileArray = window.dotnetRuntime.Module.FS.readFile(outputFileName);
      const modifiedFile = new Blob([modifiedFileArray], { type: 'application/pdf' });

      // Create download link
      const url = URL.createObjectURL(modifiedFile);
      const a = document.createElement('a');
      a.href = url;
      a.download = outputFileName;
      document.body.appendChild(a);
      a.click();
      document.body.removeChild(a);
      URL.revokeObjectURL(url);

      // dispose
      doc.Dispose();

    }

  };

  return (
    <div style={{ textAlign: 'center', height: '300px' }}>
      <h1>Convert Word to PDF Using JavaScript in React</h1>
      <button onClick={convertWordToPdf} disabled={!wasmModule}>
        Generate
      </button>
    </div>
  );
}

export default App;
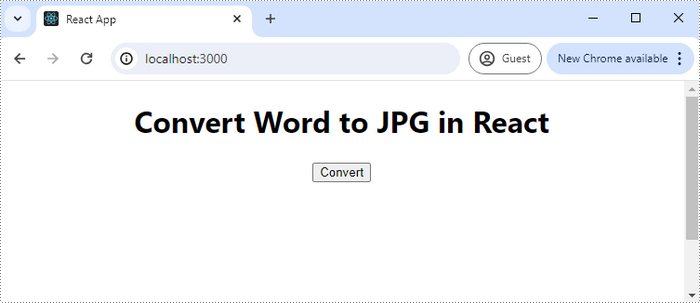
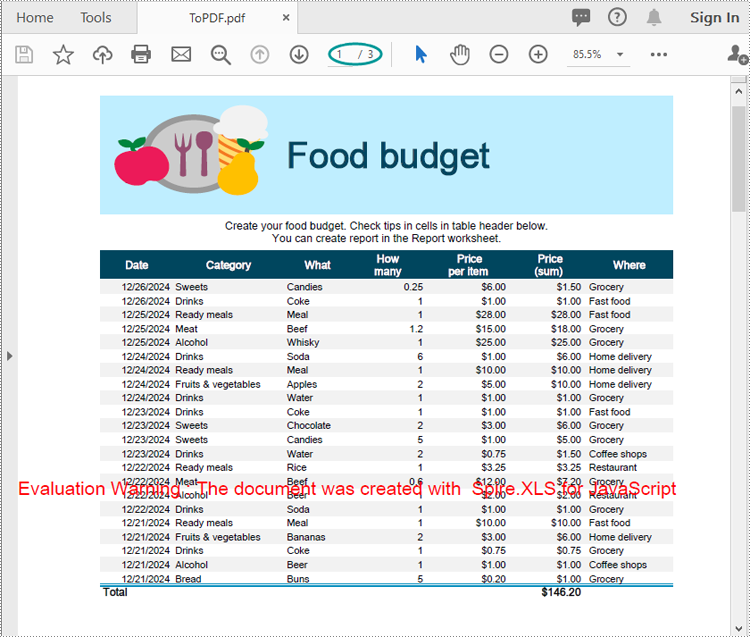
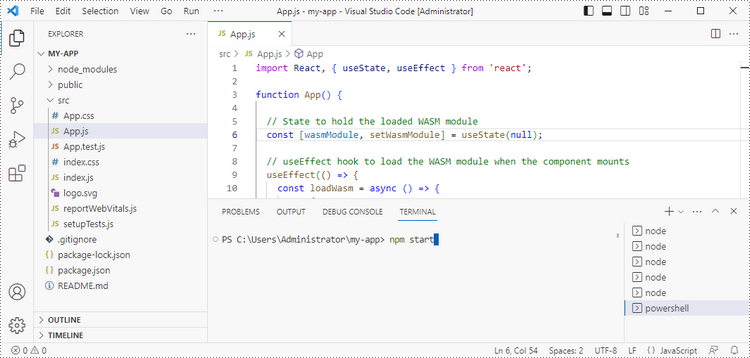
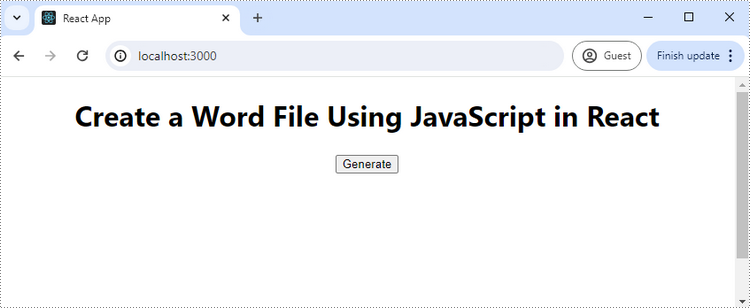
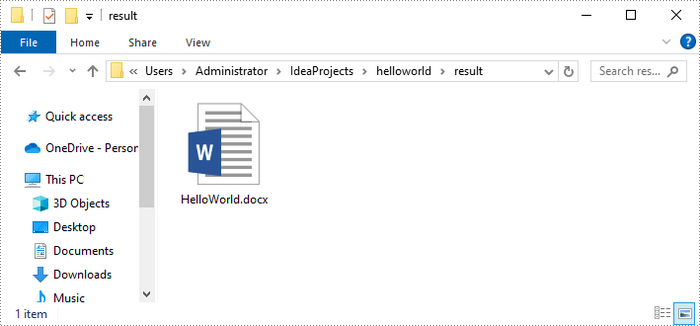
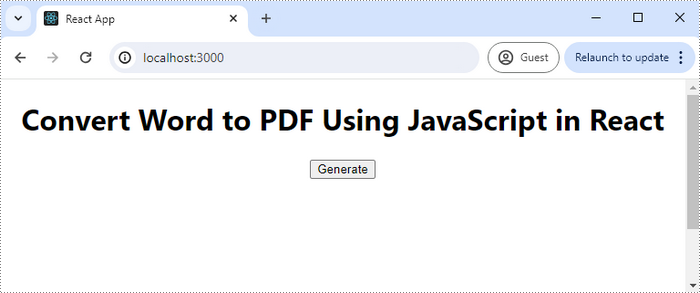
Run the code, and the React app will launch at localhost:3000. Click "Generate," and a "Save As" window will appear, prompting you to save the output file in your chosen folder.
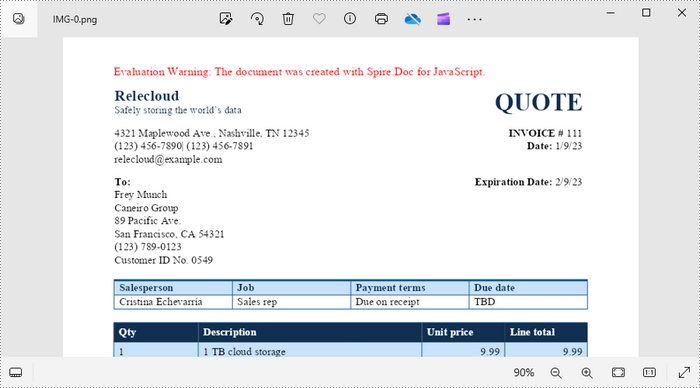
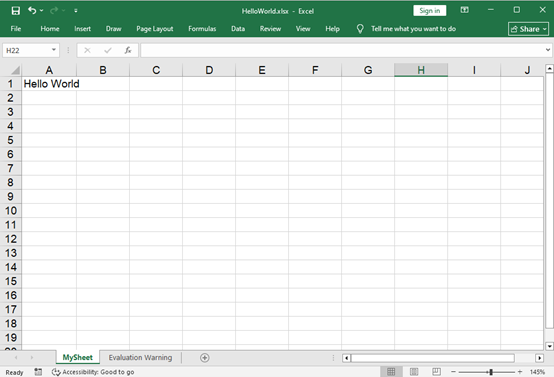
Below is a screenshot of the generated PDF document:
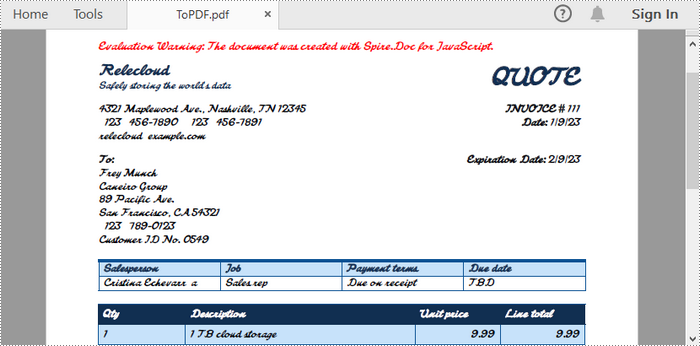
Convert Word to PDF with Non-Installed Fonts Embedded
For fonts that are not installed on your machine but applied in the Word document, you can also embed these fonts directly into the PDF. This ensures that the document looks consistent across different devices.
To embed non-installed fonts, start by creating a ToPdfParameterList object to customize the conversion process. Next, define a list of custom fonts for the PDF output. Finally, assign the custom font paths to the parameters using the ToPdfParameterList.PrivateFontPaths property.
The following code snippet demonstrates how to embed non-installed fonts when converting Word to PDF using JavaScript.
Copy
import React, { useState, useEffect } from 'react';

function App() {
  const [wasmModule, setWasmModule] = useState(null);
  // Load Spire.Doc
  useEffect(() => {
    (async () => {
      try {
        const publicUrl = process.env.PUBLIC_URL || '';
        const spireModule = await import(/* webpackIgnore: true */ `${publicUrl}/spire.doc.js`);
        const rawModule = spireModule.default || spireModule;
        window.wasmModule = typeof rawModule === 'function'
          ? await rawModule({ locateFile: p => p.endsWith('.wasm') ? `${publicUrl}/${p}` : p })
          : rawModule;
        setWasmModule(window.wasmModule);
      } catch (error) {
        console.error('Failed to load spire.doc.js WASM module:', error);
      }
    })();
  }, []);

  // Function to convert Word to PDF
  const convertWordToPdf = async () => {
    const wasmModule = window.wasmModule.spiredoc;
    if (wasmModule) {
      // Load the font files into the virtual file system (VFS)
      await window.spire.FetchFileToVFS('FreebrushScriptPLng.ttf', '/Library/Fonts/', `${process.env.PUBLIC_URL}/static/font/`);

      // Fetch the input file and add it to the VFS
      const inputFileName = 'input.docx';
      await window.spire.FetchFileToVFS(inputFileName, '', `${process.env.PUBLIC_URL}/static/data/`);

      // Create a new document
      const doc = new wasmModule.Document();

      // Load the word file
      doc.LoadFromFile(inputFileName);

      // Create a parameter list for the PDF conversion
      let parameters = new wasmModule.ToPdfParameterList();

      // Define a list of custom fonts to be used in the PDF
      let fonts = new wasmModule.PrivateFontPath('Freebrush Script', 'FreebrushScriptPLng.ttf');

      // Assign the custom font paths to the parameters for the PDF conversion
      parameters.PrivateFontPaths = fonts;

      // Save the document as a PDF file
      const outputFileName = 'ToPDF.pdf';
      doc.SaveToFile({ fileName: outputFileName, paramList: parameters });

      const modifiedFileArray = window.dotnetRuntime.Module.FS.readFile(outputFileName);
      const modifiedFile = new Blob([modifiedFileArray], { type: 'application/pdf' });

      // Create download link
      const url = URL.createObjectURL(modifiedFile);
      const a = document.createElement('a');
      a.href = url;
      a.download = outputFileName;
      document.body.appendChild(a);
      a.click();
      document.body.removeChild(a);
      URL.revokeObjectURL(url);

      // dispose
      doc.Dispose();

    }

  };

  return (
    <div style={{ textAlign: 'center', height: '300px' }}>
      <h1>Convert Word to PDF Using JavaScript in React</h1>
      <button onClick={convertWordToPdf} disabled={!wasmModule}>
        Generate
      </button>
); } export default App;
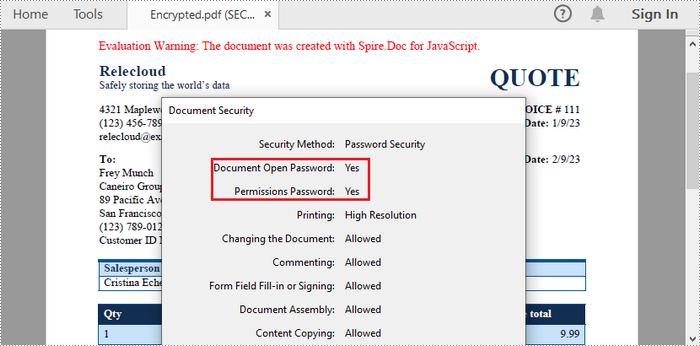
Convert Word to Password-Protected PDF
To enhance security, you can convert a Word document to a password-protected PDF. This feature is essential when sharing sensitive information.
Spire.Doc for JavaScript provides the ToPdfParameterList.PdfSecurity.Encrypt() method, enabling users to protect the generated PDF with an open password, a permission password, and specific document permissions.
The following code illustrates how to convert Word to password-protected PDF using JavaScript.
Copy
import React, { useState, useEffect } from 'react';

function App() {
  const [wasmModule, setWasmModule] = useState(null);
  // Load Spire.Doc
  useEffect(() => {
    (async () => {
      try {
        const publicUrl = process.env.PUBLIC_URL || '';
        const spireModule = await import(/* webpackIgnore: true */ `${publicUrl}/spire.doc.js`);
        const rawModule = spireModule.default || spireModule;
        window.wasmModule = typeof rawModule === 'function'
          ? await rawModule({ locateFile: p => p.endsWith('.wasm') ? `${publicUrl}/${p}` : p })
          : rawModule;
        setWasmModule(window.wasmModule);
      } catch (error) {
        console.error('Failed to load spire.doc.js WASM module:', error);
      }
    })();
  }, []);

  // Function to convert Word to PDF
  const convertWordToPdf = async () => {
    const wasmModule = window.wasmModule.spiredoc;
    if (wasmModule) {
      // Load the font files into the virtual file system (VFS)
      await window.spire.FetchFileToVFS('times.ttf', '/Library/Fonts/', `${process.env.PUBLIC_URL}/static/font/`);
      await window.spire.FetchFileToVFS('timesbd.ttf', '/Library/Fonts/', `${process.env.PUBLIC_URL}/static/font/`);
      await window.spire.FetchFileToVFS('timesbi.ttf', '/Library/Fonts/', `${process.env.PUBLIC_URL}/static/font/`);
      await window.spire.FetchFileToVFS('timesi.ttf', '/Library/Fonts/', `${process.env.PUBLIC_URL}/static/font/`);

      // Fetch the input file and add it to the VFS
      const inputFileName = 'input.docx';
      await window.spire.FetchFileToVFS(inputFileName, '', `${process.env.PUBLIC_URL}/static/data/`);

      // Create a new document
      const doc = new wasmModule.Document();

      // Load the word file
      doc.LoadFromFile(inputFileName);

      // Create a parameter list for the PDF conversion
      let parameters = new wasmModule.ToPdfParameterList();

      // Set the parameter to encrypt the generated PDF file
      parameters.PdfSecurity.Encrypt('open-psd', 'permission-psd', wasmModule.PdfPermissionsFlags.Default, wasmModule.PdfEncryptionKeySize.Key128Bit);

      // Save the document as a PDF file
      const outputFileName = 'Encrypted.pdf';
      doc.SaveToFile({ fileName: outputFileName, paramList: parameters });

      const modifiedFileArray = window.dotnetRuntime.Module.FS.readFile(outputFileName);
      const modifiedFile = new Blob([modifiedFileArray], { type: 'application/pdf' });

      // Create download link
      const url = URL.createObjectURL(modifiedFile);
      const a = document.createElement('a');
      a.href = url;
      a.download = outputFileName;
      document.body.appendChild(a);
      a.click();
      document.body.removeChild(a);
      URL.revokeObjectURL(url);

      // dispose
      doc.Dispose();

    }

  };

  return (
    <div style={{ textAlign: 'center', height: '300px' }}>
      <h1>Convert Word to PDF Using JavaScript in React</h1>
      <button onClick={convertWordToPdf} disabled={!wasmModule}>
        Generate
      </button>
    </div>
  );
}

export default App;
Convert Word to PDF with Hyperlinks Disabled
Disabling hyperlinks when converting a Word document to PDF enhances readability and maintains a clean, distraction-free format. This adjustment can be particularly useful for print materials, presentations, and documents requiring a focus on content without external links.
By setting the ToPdfParameterList.DisableLink property to true, you can ensure that any clickable links in the original document are rendered as plain text in the PDF output.
The following code snippet demonstrates how to disable hyperlinks when converting Word to PDF using JavaScript.
Copy
import React, { useState, useEffect } from 'react';

function App() {
  const [wasmModule, setWasmModule] = useState(null);
  // Load Spire.Doc
  useEffect(() => {
    (async () => {
      try {
        const publicUrl = process.env.PUBLIC_URL || '';
        const spireModule = await import(/* webpackIgnore: true */ `${publicUrl}/spire.doc.js`);
        const rawModule = spireModule.default || spireModule;
        window.wasmModule = typeof rawModule === 'function'
          ? await rawModule({ locateFile: p => p.endsWith('.wasm') ? `${publicUrl}/${p}` : p })
          : rawModule;
        setWasmModule(window.wasmModule);
      } catch (error) {
        console.error('Failed to load spire.doc.js WASM module:', error);
      }
    })();
  }, []);

  // Function to convert Word to PDF
  const convertWordToPdf = async () => {
    const wasmModule = window.wasmModule.spiredoc;
    if (wasmModule) {
      // Load the font files into the virtual file system (VFS)
      await window.spire.FetchFileToVFS('times.ttf', '/Library/Fonts/', `${process.env.PUBLIC_URL}/static/font/`);
      await window.spire.FetchFileToVFS('timesbd.ttf', '/Library/Fonts/', `${process.env.PUBLIC_URL}/static/font/`);
      await window.spire.FetchFileToVFS('timesbi.ttf', '/Library/Fonts/', `${process.env.PUBLIC_URL}/static/font/`);
      await window.spire.FetchFileToVFS('timesi.ttf', '/Library/Fonts/', `${process.env.PUBLIC_URL}/static/font/`);

      // Fetch the input file and add it to the VFS
      const inputFileName = 'input.docx';
      await window.spire.FetchFileToVFS(inputFileName, '', `${process.env.PUBLIC_URL}/static/data/`);

      // Create a new document
      const doc = new wasmModule.Document();

      // Load the word file
      doc.LoadFromFile(inputFileName);

      // Create a parameter list for the PDF conversion
      let parameters = new wasmModule.ToPdfParameterList();

      // Set the parameter to disable hyperlinks
      parameters.DisableLink = true;

      // Save the document as a PDF file
      const outputFileName = 'DisableHyperlinks.pdf';
      doc.SaveToFile({ fileName: outputFileName, paramList: parameters });

      const modifiedFileArray = window.dotnetRuntime.Module.FS.readFile(outputFileName);
      const modifiedFile = new Blob([modifiedFileArray], { type: 'application/pdf' });

      // Create download link
      const url = URL.createObjectURL(modifiedFile);
      const a = document.createElement('a');
      a.href = url;
      a.download = outputFileName;
      document.body.appendChild(a);
      a.click();
      document.body.removeChild(a);
      URL.revokeObjectURL(url);

      // dispose
      doc.Dispose();

    }

  };

  return (
    <div style={{ textAlign: 'center', height: '300px' }}>
      <h1>Convert Word to PDF Using JavaScript in React</h1>
      <button onClick={convertWordToPdf} disabled={!wasmModule}>
        Generate
      </button>
    </div>
  );
}

export default App;
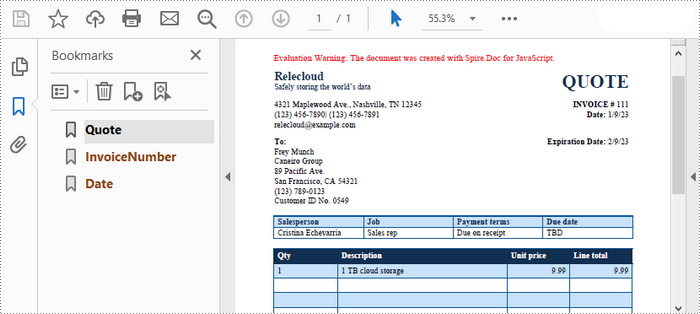
Convert Word to PDF with Bookmarks Preserved
Preserving bookmarks when converting a Word document to PDF enhances navigation in lengthy documents, allowing readers to quickly access specific sections. This feature improves usability and the overall experience of the PDF.
To create bookmarks in the output PDF document from the existing Word bookmarks, set the ToPdfParameterList.CreateWordBookmarks property to true.
The following is an example of preserving bookmarks when converting Word to PDF using JavaScript.
Copy
import React, { useState, useEffect } from 'react';

function App() {
  const [wasmModule, setWasmModule] = useState(null);
  // Load Spire.Doc
  useEffect(() => {
    (async () => {
      try {
        const publicUrl = process.env.PUBLIC_URL || '';
        const spireModule = await import(/* webpackIgnore: true */ `${publicUrl}/spire.doc.js`);
        const rawModule = spireModule.default || spireModule;
        window.wasmModule = typeof rawModule === 'function'
          ? await rawModule({ locateFile: p => p.endsWith('.wasm') ? `${publicUrl}/${p}` : p })
          : rawModule;
        setWasmModule(window.wasmModule);
      } catch (error) {
        console.error('Failed to load spire.doc.js WASM module:', error);
      }
    })();
  }, []);

  // Function to convert Word to PDF
  const convertWordToPdf = async () => {
    const wasmModule = window.wasmModule.spiredoc;
    if (wasmModule) {
      // Load the font files into the virtual file system (VFS)
      await window.spire.FetchFileToVFS('times.ttf', '/Library/Fonts/', `${process.env.PUBLIC_URL}/static/font/`);
      await window.spire.FetchFileToVFS('timesbd.ttf', '/Library/Fonts/', `${process.env.PUBLIC_URL}/static/font/`);
      await window.spire.FetchFileToVFS('timesbi.ttf', '/Library/Fonts/', `${process.env.PUBLIC_URL}/static/font/`);
      await window.spire.FetchFileToVFS('timesi.ttf', '/Library/Fonts/', `${process.env.PUBLIC_URL}/static/font/`);

      // Fetch the input file and add it to the VFS
      const inputFileName = 'input.docx';
      await window.spire.FetchFileToVFS(inputFileName, '', `${process.env.PUBLIC_URL}/static/data/`);

      // Create a new document
      const doc = new wasmModule.Document();

      // Load the word file
      doc.LoadFromFile(inputFileName);

      // Create a parameter list for the PDF conversion
      let parameters = new wasmModule.ToPdfParameterList();

      // Set the parameter to create bookmarks in the PDF from existing bookmarks in Word
      parameters.CreateWordBookmarks = true;

      // Save the document as a PDF file
      const outputFileName = 'CreateBookmarks.pdf';
      doc.SaveToFile({ fileName: outputFileName, paramList: parameters });

      const modifiedFileArray = window.dotnetRuntime.Module.FS.readFile(outputFileName);
      const modifiedFile = new Blob([modifiedFileArray], { type: 'application/pdf' });

      // Create download link
      const url = URL.createObjectURL(modifiedFile);
      const a = document.createElement('a');
      a.href = url;
      a.download = outputFileName;
      document.body.appendChild(a);
      a.click();
      document.body.removeChild(a);
      URL.revokeObjectURL(url);

      // dispose
      doc.Dispose();

    }

  };

  return (
    <div style={{ textAlign: 'center', height: '300px' }}>
      <h1>Convert Word to PDF Using JavaScript in React</h1>
      <button onClick={convertWordToPdf} disabled={!wasmModule}>
        Generate
      </button>
    </div>
  );
}

export default App;
Convert Word to PDF with Custom Image Quality
If your Word document contains images, you may want to control the quality of these images in the PDF. This can help balance file size and quality.
Spire.Doc for JavaScript includes the Document.JPEGQuality property, which allows developers to set image compression quality on a scale from 1 to 100.
The following is an example of customizing image quality when converting Word to PDF using JavaScript.
Copy
import React, { useState, useEffect } from 'react';

function App() {
  const [wasmModule, setWasmModule] = useState(null);
  // Load Spire.Doc
  useEffect(() => {
    (async () => {
      try {
        const publicUrl = process.env.PUBLIC_URL || '';
        const spireModule = await import(/* webpackIgnore: true */ `${publicUrl}/spire.doc.js`);
        const rawModule = spireModule.default || spireModule;
        window.wasmModule = typeof rawModule === 'function'
          ? await rawModule({ locateFile: p => p.endsWith('.wasm') ? `${publicUrl}/${p}` : p })
          : rawModule;
        setWasmModule(window.wasmModule);
      } catch (error) {
        console.error('Failed to load spire.doc.js WASM module:', error);
      }
    })();
  }, []);

  // Function to convert Word to PDF
  const convertWordToPdf = async () => {
    const wasmModule = window.wasmModule.spiredoc;
    if (wasmModule) {
      // Load the font files into the virtual file system (VFS)
      await window.spire.FetchFileToVFS('times.ttf', '/Library/Fonts/', `${process.env.PUBLIC_URL}/static/font/`);
      await window.spire.FetchFileToVFS('timesbd.ttf', '/Library/Fonts/', `${process.env.PUBLIC_URL}/static/font/`);
      await window.spire.FetchFileToVFS('timesbi.ttf', '/Library/Fonts/', `${process.env.PUBLIC_URL}/static/font/`);
      await window.spire.FetchFileToVFS('timesi.ttf', '/Library/Fonts/', `${process.env.PUBLIC_URL}/static/font/`);

      // Fetch the input file and add it to the VFS
      const inputFileName = 'input.docx';
      await window.spire.FetchFileToVFS(inputFileName, '', `${process.env.PUBLIC_URL}/static/data/`);

      // Create a new document
      const doc = new wasmModule.Document();

      // Load the word file
      doc.LoadFromFile(inputFileName);

      // Set the output image quality to be 40% of the original image
      doc.JPEGQuality = 40;

      // Save the document as a PDF file
      const outputFileName = 'CustomImageQuality.pdf';
      doc.SaveToFile({ fileName: outputFileName, fileFormat: wasmModule.FileFormat.PDF });

      const modifiedFileArray = window.dotnetRuntime.Module.FS.readFile(outputFileName);
      const modifiedFile = new Blob([modifiedFileArray], { type: 'application/pdf' });

      // Create download link
      const url = URL.createObjectURL(modifiedFile);
      const a = document.createElement('a');
      a.href = url;
      a.download = outputFileName;
      document.body.appendChild(a);
      a.click();
      document.body.removeChild(a);
      URL.revokeObjectURL(url);

      // dispose
      doc.Dispose();

    }

  };

  return (
    <div style={{ textAlign: 'center', height: '300px' }}>
      <h1>Convert Word to PDF Using JavaScript in React</h1>
      <button onClick={convertWordToPdf} disabled={!wasmModule}>
        Generate
      </button>
    </div>
  );
}

export default App;
Get a Free License
To fully experience the capabilities of Spire.Doc for JavaScript without any evaluation limitations, you can request a free 30-day trial license.