Product intros and quarterly reports often need pictures on the slides. Adding one to a single page is a page-by-page job; to put a company logo on every slide, you have to edit the slide master. In desktop software, that means switching to master view and aligning the position by hand; running it on the server means uploading the file first.
This article adds images to PowerPoint directly in the browser with Spire.Presentation for JavaScript. A picture can go onto one slide, or onto the slide master so every slide using that master shows it. The whole process runs in the browser via WebAssembly, with no Office installation and no backend dependency, and the file always stays on the user's device.
This article covers two core tasks:
For installation and project setup, see Integrate Spire.Presentation for JavaScript in a React project. The examples below assume Spire.Presentation is installed and the WebAssembly module is initialized.
Insert a picture into a slide
Spire.Presentation for JavaScript provides Shapes.AppendEmbedImage() to add a picture directly to a slide.
The steps are:
- Get the Spire.Presentation WASM module and make sure it is ready.
- Load the scenery image and fonts, create a
Presentationobject as a new blank presentation. - Define the picture rectangle with
RectangleF.FromLTRB(); the four values are left, top, right, bottom. - Call
Shapes.AppendEmbedImage()on the blank slide that comes with the new presentation, passingShapeType.Rectangle, the image file name, and the rectangle; it returns the picture shape. - Save the result, read it from the VFS, and trigger a browser download.
The code to insert a picture into a slide is as follows:
function App() {
  const insertPicture = async () => {
    // Get the Spire.Presentation WASM module
    const pptModule = window.wasmModule?.spirepresentation;

    // Check that the module is ready
    if (!pptModule) {
      alert('Spire.Presentation is not ready yet');
      return;
    }

    // Load the scenery image and fonts
    await window.spire.FetchFileToVFS('Scenery.png', "", `${process.env.PUBLIC_URL}/data/`);
    await window.spire.FetchFileToVFS('ARIALUNI.TTF', "/Library/Fonts/", `${process.env.PUBLIC_URL}/font/`);

    // Create a new blank presentation (it comes with one blank slide) and set it to 16:9
    const ppt = new pptModule.Presentation();
    ppt.SlideSize.Type = pptModule.SlideSizeType.Screen16x9;

    // Rectangle is in points, origin at the top-left of the slide
    const rect = pptModule.RectangleF.FromLTRB(300, 135, 660, 405);

    // Append a picture shape to the new blank slide
    const slide = ppt.Slides.get_Item(0);
    const picture = slide.Shapes.AppendEmbedImage({
      shapeType: pptModule.ShapeType.Rectangle,
      fileName: 'Scenery.png',
      rectangle: rect,
    });

    // Remove the border that comes with the picture shape
    picture.Line.FillType = pptModule.FillFormatType.None;

    // Save the result file
    const outputFileName = 'Inserted-Image.pptx';
    ppt.SaveToFile({ file: outputFileName, fileFormat: pptModule.FileFormat.Pptx2013 });
    ppt.Dispose();

    // Read the generated file from the VFS and trigger a download
    const fileArray = window.dotnetRuntime.Module.FS.readFile(outputFileName);
    const blob = new Blob([fileArray], { type: 'application/vnd.openxmlformats-officedocument.presentationml.presentation' });
    const url = URL.createObjectURL(blob);
    const a = document.createElement('a');
    a.href = url;
    a.download = outputFileName;
    a.click();
    URL.revokeObjectURL(url);
  };

  return (
    <div style={{ textAlign: 'center', height: '300px' }}>
      <h1>Insert a picture into a slide</h1>
      <button id="btn-1" onClick={insertPicture}>
        Insert picture
      </button>
    </div>
  );
}

export default App;
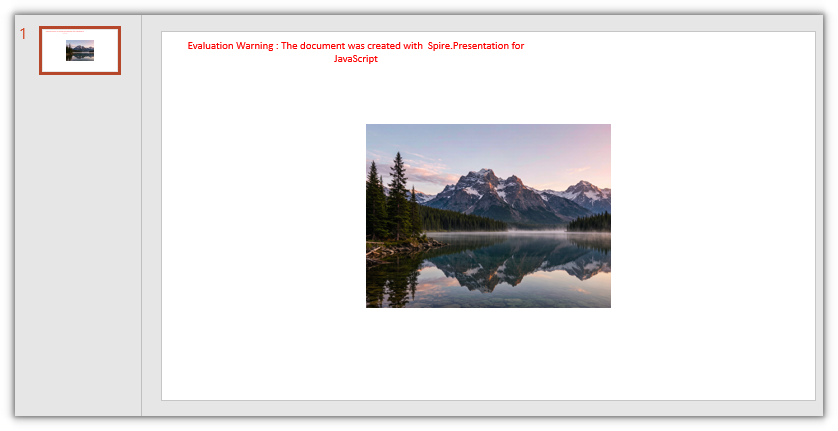
The picture now sits in the center of the slide:
Add an image to the slide master
Slide masters are managed by Presentation.Masters. Adding a picture to the master with Shapes.AppendEmbedImage() makes every slide using that master show it.
The steps are:
- Get the Spire.Presentation WASM module and make sure it is ready.
- Load the logo image and fonts, create a
Presentationobject as a new blank presentation. - Get the default slide master with
Presentation.Masters.get_Item(0). - Define the picture area with
RectangleF.FromLTRB(), callAppendEmbedImage()on the master'sShapes, and remove the picture border. - Call
Slides.Append()to add a slide, save the result, read it from the VFS, and trigger a browser download.
The code to add an image to the slide master is as follows:
function App() {
  const addImageToSlideMaster = async () => {
    // Get the Spire.Presentation WASM module
    const pptModule = window.wasmModule?.spirepresentation;

    // Check that the module is ready
    if (!pptModule) {
      alert('Spire.Presentation is not ready yet');
      return;
    }

    // Load the logo image and fonts
    await window.spire.FetchFileToVFS('Logo.png', "", `${process.env.PUBLIC_URL}/data/`);
    await window.spire.FetchFileToVFS('ARIALUNI.TTF', "/Library/Fonts/", `${process.env.PUBLIC_URL}/font/`);

    // Create a new blank presentation and set it to 16:9
    const ppt = new pptModule.Presentation();
    ppt.SlideSize.Type = pptModule.SlideSizeType.Screen16x9;

    // Get the default slide master
    const master = ppt.Masters.get_Item(0);

    // Append a picture shape to the master; rectangle is in points
    const rect = pptModule.RectangleF.FromLTRB(40, 40, 130, 130);
    const picture = master.Shapes.AppendEmbedImage({
      shapeType: pptModule.ShapeType.Rectangle,
      fileName: 'Logo.png',
      rectangle: rect,
    });

    // Remove the border that comes with the picture shape
    picture.Line.FillFormat.FillType = pptModule.FillFormatType.None;

    // Add a slide to see the master image in effect
    ppt.Slides.Append();

    // Save the result file
    const outputFileName = 'Master-Image.pptx';
    ppt.SaveToFile({ file: outputFileName, fileFormat: pptModule.FileFormat.Pptx2013 });
    ppt.Dispose();

    // Read the generated file from the VFS and trigger a download
    const fileArray = window.dotnetRuntime.Module.FS.readFile(outputFileName);
    const blob = new Blob([fileArray], { type: 'application/vnd.openxmlformats-officedocument.presentationml.presentation' });
    const url = URL.createObjectURL(blob);
    const a = document.createElement('a');
    a.href = url;
    a.download = outputFileName;
    a.click();
    URL.revokeObjectURL(url);
  };

  return (
    <div style={{ textAlign: 'center', height: '300px' }}>
      <h1>Add an image to the slide master</h1>
      <button id="btn-2" onClick={addImageToSlideMaster}>
        Add image to master
      </button>
    </div>
  );
}

export default App;
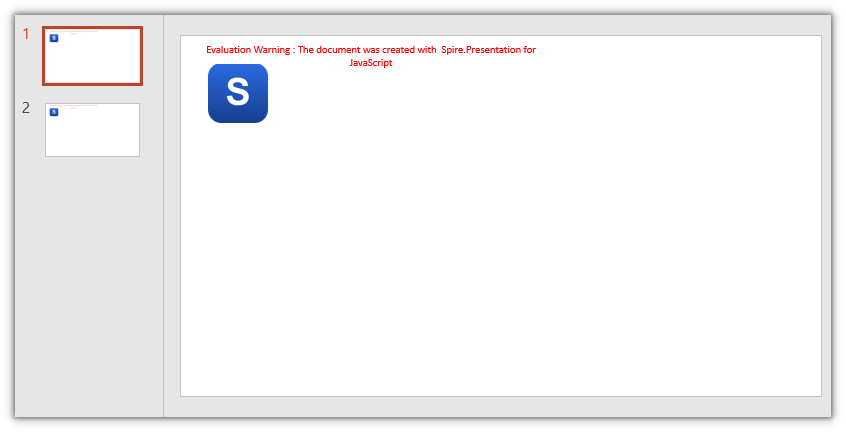
The master image now appears on the newly added slide:
FAQ
Why does the inserted picture appear somewhere else on the slide
The four values of RectangleF.FromLTRB() are in points, with the origin at the top-left of the slide, and they are left, top, right, bottom — not width and height. The picture's top-left corner lands at (left, top), and its size is right - left by bottom - top. Convert coordinates against the slide size first; a 16:9 page is 960 × 540 points.
What is the difference between a master image and a regular picture
A picture on the master is part of the layout: every slide using that master shows it, its position is fixed, and it cannot be selected or deleted on an individual slide. A regular picture belongs only to the slide it was inserted on and can be moved or removed there.
Why is the master image hidden behind slide content
Master pictures render below slide content, so text and shapes on the slide cover them. Place the master image in an empty area of the page, or adjust the layout of the slide content.
Can I add more than one image at a time
Yes. Call AppendEmbedImage() once per image, on a slide or a master. When adding several to the same slide or master, pass a different rectangle each time so they do not overlap. The output is still one PPTX file, saved once.
Get a Free License
If you want to remove the evaluation message from the result documents or lift feature limits, contact sales for a temporary license valid for 30 days.