Activating a worksheet or cell is an essential step for effectively navigating and manipulating data within an Excel workbook. By activating a specific worksheet, you make it the active sheet, allowing you to perform all operations and modifications directly on that sheet. Similarly, activating a cell sets it as the active cell within the current worksheet. This provides a targeted focus point for your actions, such as data entry, editing, formatting, or applying formulas. In this article, we will demonstrate how to activate a worksheet or cell in Excel in C# using Spire.XLS for .NET.
Install Spire.XLS for .NET
To begin with, you need to add the DLL files included in the Spire.XLS for .NET package as references in your .NET project. The DLL files can be either downloaded from this link or installed via NuGet.
PM> Install-Package Spire.XLS
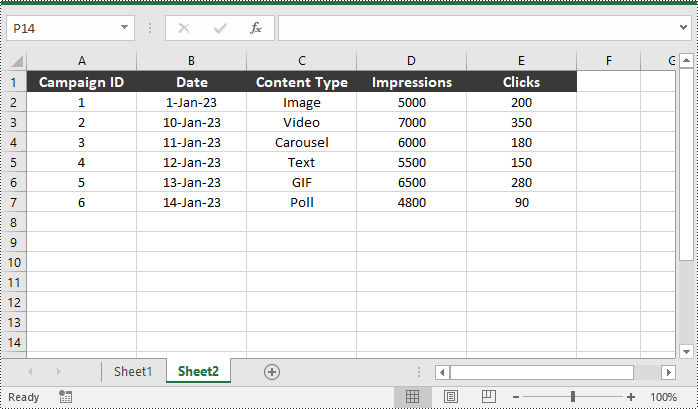
Activate a Worksheet in Excel in C#
A worksheet in an Excel workbook can be activated using the Worksheet.Activate() method. It's important to note that only one worksheet can be activated at a time within a workbook.
The following steps explain how to activate a worksheet in an Excel workbook using Spire.XLS for .NET:
- Create an object of the Workbook class.
- Load an Excel file using the Workbook.LoadFromFile() method.
- Get the desired worksheet that you want to activate using the Workbook.Worksheets[index] property.
- Activate the worksheet using the Worksheet.Activate() method.
- Save the resulting workbook to a file using the Workbook.SaveToFile() method.
- C#
using Spire.Xls;

namespace ActivateWorksheet
{
    internal class Program
    {
        static void Main(string[] args)
        {
            //Create an object of the Workbook class
            Workbook workbook = new Workbook();
            //Load an Excel file
            workbook.LoadFromFile("Sample.xlsx");

            //Get the second worksheet in the file
            Worksheet sheet = workbook.Worksheets[1];

            //Make the second worksheet the active worksheet
            sheet.Activate();

            //Save the resulting workbook to a file
            workbook.SaveToFile("ActivateWorksheet.xlsx", FileFormat.Version2013);
            workbook.Dispose();
        }
    }
}
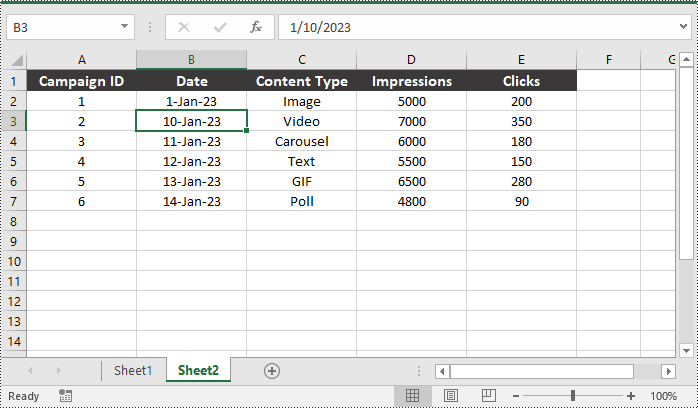
Activate a Cell in Excel in C#
In addition to activating a worksheet, you can also activate a specific cell within a worksheet using the CellRange.Activate() method.
The following steps explain how to activate a cell in an Excel worksheet using Spire.XLS for .NET:
- Create an object of the Workbook class.
- Load an Excel file using Workbook.LoadFromFile() method.
- Get the desired worksheet that you want to activate using Workbook.Worksheets[index] property.
- Activate the worksheet using the Worksheet.Activate() method.
- Get the desired cell that you want to activate within the worksheet using the Worksheet.Range[] property.
- Activate the cell using the CellRange.Activate() method.
- Save the resulting workbook to a file using the Workbook.SaveToFile() method.
- C#
using Spire.Xls;

namespace ActivateCell
{
    internal class Program
    {
        static void Main(string[] args)
        {
            //Create an object of the Workbook class
            Workbook workbook = new Workbook();
            //Load an Excel file
            workbook.LoadFromFile("Sample.xlsx");

            //Get the second worksheet in the file
            Worksheet sheet = workbook.Worksheets[1];
            //Make the second worksheet the active worksheet
            sheet.Activate();

            //Get the cell that you want to activate in the worksheet
            CellRange cell = sheet.Range["B3"];
            //Make the cell the active cell
            cell.Activate();

            //Save the resulting workbook to a file
            workbook.SaveToFile("ActivateCell.xlsx", FileFormat.Version2013);
            workbook.Dispose();
        }
    }
}
Apply for a Temporary License
If you'd like to remove the evaluation message from the generated documents, or to get rid of the function limitations, please request a 30-day trial license for yourself.
