Textbox in Excel is a special kind of graphic object, which allows users to add some text in it. Moreover, textbox can be filled with solid color, gradient, pattern or a picture so that it looks more attractive. This article presents how to add a picture fill to Excel textbox and adjust the position of the picture as well.
Code Snippets:
Step 1: Create a new instance of Workbook class and get the first worksheet.
Workbook workbook = new Workbook();
Worksheet sheet = workbook.Worksheets[0];
Step 2: Add a textbox shape into the worksheet.
ITextBoxShape shape = sheet.TextBoxes.AddTextBox(2, 2, 200, 300);
Step 3: Fill the textbox with a 160x160 pixels picture.
shape.Fill.CustomPicture(@"C:\Users\Administrator\Desktop\logo.png");
shape.Fill.FillType = ShapeFillType.Picture;
Step 4: Save the file.
workbook.SaveToFile("PicFill.xlsx", ExcelVersion.Version2013);
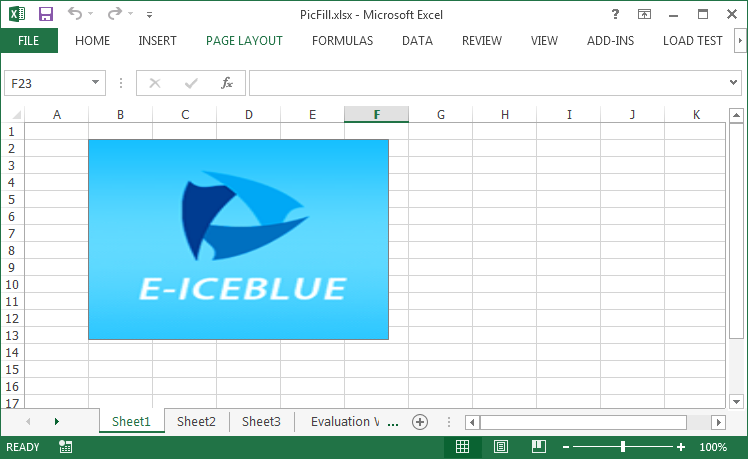
When we add a picture fill to a textbox using above code, the picture will stretch to fill the shape, like below screenshot.
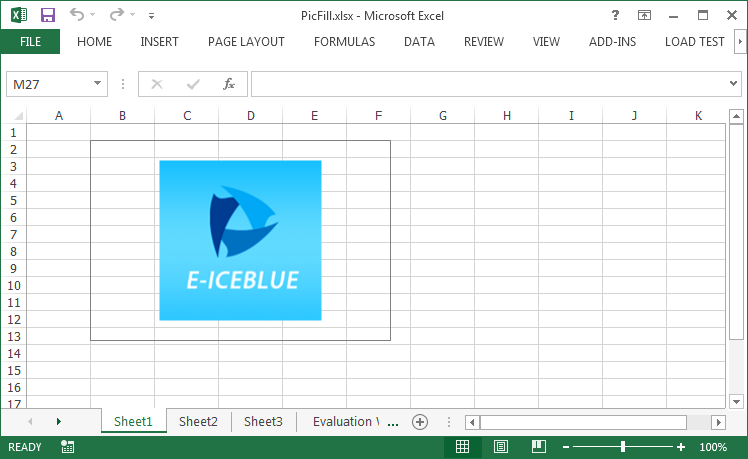
If you want to prevent the image from stretching, you can adjust the size of the textbox or change the position of the picture, for example, place the image at the central position of the textbox. Following code snippet demonstrates how to center align the picture fill.
//If the height of textbox is larger than the height of original picture, set the picture into vertical center
if (textbox.Height > textbox.Fill.Picture.Height)
{
    int difH = textbox.Height - textbox.Fill.Picture.Height;
    (textbox.Fill as XlsShapeFill).PicStretch.Top = difH * 100 / (textbox.Height * 2);
    (textbox.Fill as XlsShapeFill).PicStretch.Bottom = difH * 100 / (textbox.Height * 2);
}
//If the width of textbox is larger than the width of original picture, set the picture into horizontal center
if (textbox.Width > textbox.Fill.Picture.Width)
{
    int difW = textbox.Width - textbox.Fill.Picture.Width;
    (textbox.Fill as XlsShapeFill).PicStretch.Left = difW * 100 / (textbox.Width * 2);
    (textbox.Fill as XlsShapeFill).PicStretch.Right = difW * 100 / (textbox.Width * 2);
}
Full Code:
using Spire.Xls;
using Spire.Xls.Core;
using Spire.Xls.Core.Spreadsheet.Shapes;
namespace AddingPicture
{
    class Program
    {

        static void Main(string[] args)
        {
            //load Excel file
            Workbook workbook = new Workbook();
            Worksheet sheet = workbook.Worksheets[0];
            ITextBoxShape textbox = sheet.TextBoxes.AddTextBox(2, 2, 200, 300);

            textbox.Fill.CustomPicture(@"C:\Users\Administrator\Desktop\logo.png");
            textbox.Fill.FillType = ShapeFillType.Picture;

            //If the height of textbox is larger than the height of original picture, set the picture into vertical center
            if (textbox.Height > textbox.Fill.Picture.Height)
            {
                int difH = textbox.Height - textbox.Fill.Picture.Height;
                (textbox.Fill as XlsShapeFill).PicStretch.Top = difH * 100 / (textbox.Height * 2);
                (textbox.Fill as XlsShapeFill).PicStretch.Bottom = difH * 100 / (textbox.Height * 2);
            }
            //If the width of textbox is larger than the width of original picture, set the picture into horizontal center
            if (textbox.Width > textbox.Fill.Picture.Width)
            {
                int difW = textbox.Width - textbox.Fill.Picture.Width;
                (textbox.Fill as XlsShapeFill).PicStretch.Left = difW * 100 / (textbox.Width * 2);
                (textbox.Fill as XlsShapeFill).PicStretch.Right = difW * 100 / (textbox.Width * 2);
            }

            workbook.SaveToFile("PicFill.xlsx", ExcelVersion.Version2013);
        }
    }
}
Imports Spire.Xls
Imports Spire.Xls.Core
Imports Spire.Xls.Core.Spreadsheet.Shapes
Namespace AddingPicture
	Class Program

		Private Shared Sub Main(args As String())
			'load Excel file
			Dim workbook As New Workbook()
			Dim sheet As Worksheet = workbook.Worksheets(0)
			Dim textbox As ITextBoxShape = sheet.TextBoxes.AddTextBox(2, 2, 200, 300)

			textbox.Fill.CustomPicture("C:\Users\Administrator\Desktop\logo.png")
			textbox.Fill.FillType = ShapeFillType.Picture

			'If the height of textbox is larger than the height of original picture, set the picture into vertical center
			If textbox.Height > textbox.Fill.Picture.Height Then
				Dim difH As Integer = textbox.Height - textbox.Fill.Picture.Height
				TryCast(textbox.Fill, XlsShapeFill).PicStretch.Top = difH * 100 / (textbox.Height * 2)
				TryCast(textbox.Fill, XlsShapeFill).PicStretch.Bottom = difH * 100 / (textbox.Height * 2)
			End If
			'If the width of textbox is larger than the width of original picture, set the picture into horizontal center
			If textbox.Width > textbox.Fill.Picture.Width Then
				Dim difW As Integer = textbox.Width - textbox.Fill.Picture.Width
				TryCast(textbox.Fill, XlsShapeFill).PicStretch.Left = difW * 100 / (textbox.Width * 2)
				TryCast(textbox.Fill, XlsShapeFill).PicStretch.Right = difW * 100 / (textbox.Width * 2)
			End If

			workbook.SaveToFile("PicFill.xlsx", ExcelVersion.Version2013)
		End Sub
	End Class
End Namespace
