In this document, we will quickly help you finish a simple demo about Spire.DataExport using Visual Studio. Before you get started, please make sure the Spire.DataExport and Visual Studio (2008 or later) are installed on your computer.
1. In Visual Studio, click File, New, and then Project, If you want to create a C# project, select Visual C#, Windows and choose Windows Forms Application and name the project SimpleCellExport. Click OK. If you want to create a Visual Basic project, select Visual Basic, Windows Forms Application and name the project SimpleCellExport. Click OK.
2. In Solution Explorer, right-click the project SimpleCellExport and click Properties. In the Application tab, check the Target framework, the target framework can must be a full version not a client profile version.
3. In Solution Explorer, right-click the project SimpleCellExport and click Add Reference. In the Browse tab, find the folder which you installed the Spire.DataExport in, default is "C:\Program Files\e-iceblue\Spire.DataExport", double-click the folder Bin. If the target framework of the project SimpleCellExport
- is .NET 2.0, double-click folder NET2.0
- is .NET 3.5, double-click folder NET3.5
- is .NET 4.0, double-click folder NET4.0
select these two assemblies: Spire.DataExport.dll and Spire.DataExport.ResourceMgr.dll, and click OK to add it to the project.
4. In Solution Explorer, double-click the file Form1.cs/Form1.vb to open the form design view, add a button into the form, and change its name to 'btnRun', change its text to 'Run'.
5. Open the ToolBox window, select the control 'CellExport' in the 'Spire.DataExport' tab and drag it into the form.
6. Select the new control object under the form in the design window, open the Properties window, change the name of the control 'CellExport' to 'cellExport', set the property ActionAfterExport to OpenView, set the property FileName to any file path you wanted, for example: D:\temp\sample.xls.
7. Double-click the button 'Run', you will see the code view and the following method has been added automatically
private void btnRun_Click(object sender, EventArgs e)
***Private Sub btnRun_Click(ByVal sender As System.Object, ByVal e As System.EventArgs) Handles btnRun.Click
8. Add the following codes to the top of the file
using System.Data;
using System.Data.OleDb;
Imports System.Data
Imports System.Data.OleDb
9. Add the following codes to the method btnRun_Click
using (IDbConnection conn = new OleDbConnection())
{
//the data source demo.mdb was installed during installing Spire.DataExport,
//so the path of the data source may be different yours.
conn.ConnectionString
= @"Provider=Microsoft.Jet.OLEDB.4.0;"
+ @"Data Source=C:\Program Files\e-iceblue\Spire.DataExport\Demos\Database\demo.mdb";
conn.Open();

IDbCommand command = new OleDbCommand();
command.Connection = conn;
command.CommandText = "select * from parts";

this.cellExport.SQLCommand = command;
this.cellExport.SaveToFile();
}
Using conn = new OleDbConnection()
'the data source demo.mdb was installed during installing Spire.DataExport,
'so the path of the data source may be different yours.
conn.ConnectionString _
= "Provider=Microsoft.Jet.OLEDB.4.0;" _
& "Data Source=C:\\Program Files\\e-iceblue\\Spire.DataExport\\Demos\\Database\\demo.mdb"
conn.Open()

Dim command As New OleDbCommand()
command.Connection = conn
command.CommandText = "select * from parts"

Me.cellExport.SQLCommand = command
Me.cellExport.SaveToFile()
End Using
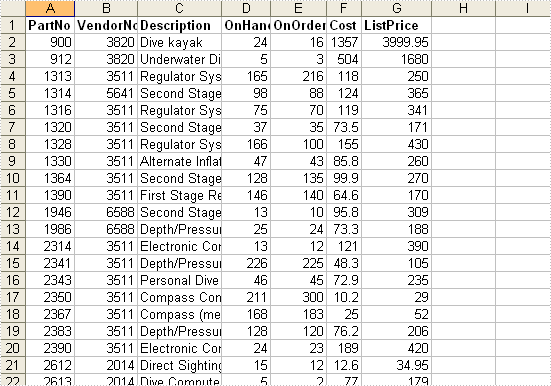
10. In Solution Explorer, right-click the project SimpleCellExport and click Debug, then Start new instance, you will see the opened window Form1, click the button 'Run', an Excel workbook will be generated, and opened. It looks the same as the following picture: