Convert PDF Page to SVG in C#/VB.NET
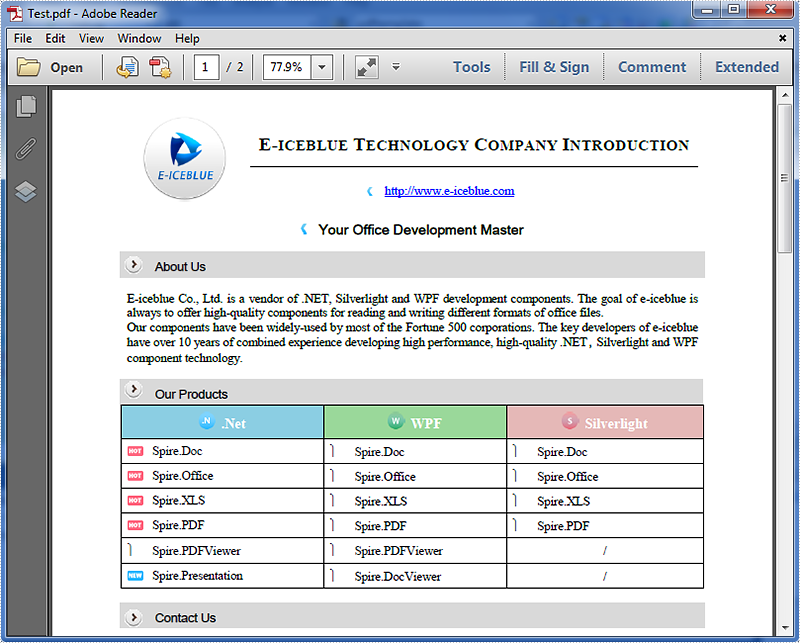
Spire.PDF allows us to convert a PDF document, a single page or a range of pages in a PDF document to SVG file format. We have introduced how to convert a PDF document to SVG, in this tutorial, we are going to demonstrate how to convert a PDF page to SVG.
Below is the source PDF file we used in this example:
Code snippets:
Step 1: Instantiate an object of PdfDocument class and load the PDF document.
PdfDocument doc = new PdfDocument();
doc.LoadFromFile("Test.pdf");
Step 2: Convert the first page of the PDF document to SVG using the SaveToFile(string filename, int startIndex, int endIndex, FileFormat fileFormat) method.
doc.SaveToFile("Result.svg", 0, 0, FileFormat.SVG);
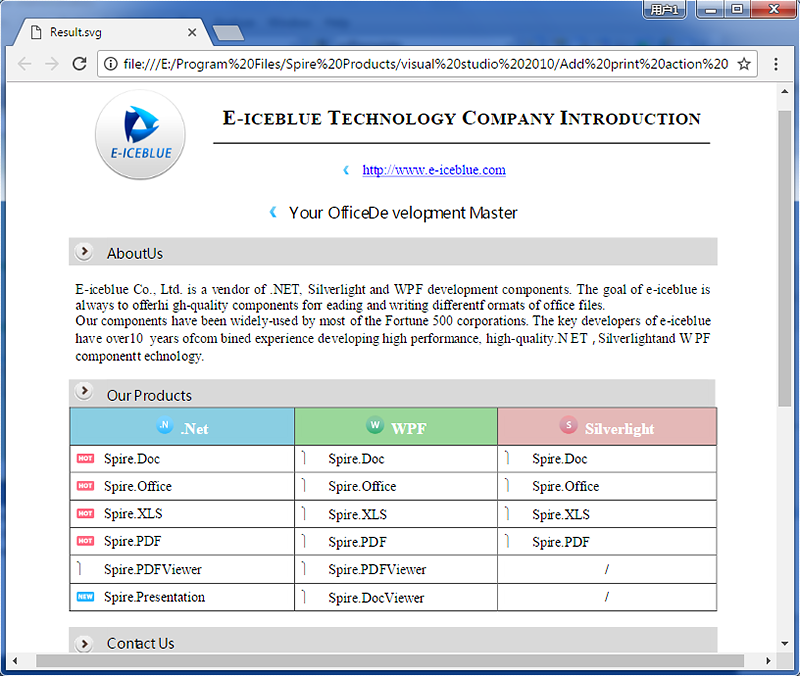
The resultant SVG file looks as follows:
Full code:
using Spire.Pdf;

namespace PDF_Page_to_SVG
{
    class Program
    {
        static void Main(string[] args)
        {
            PdfDocument doc = new PdfDocument();
            doc.LoadFromFile("Test.pdf");
            doc.SaveToFile("Result.svg", 0, 0, FileFormat.SVG);
        }
    }
}
Imports Spire.Pdf

Namespace PDF_Page_to_SVG
	Class Program
		Private Shared Sub Main(args As String())
			Dim doc As New PdfDocument()
			doc.LoadFromFile("Test.pdf")
			doc.SaveToFile("Result.svg", 0, 0, FileFormat.SVG)
		End Sub
	End Class
End Namespace
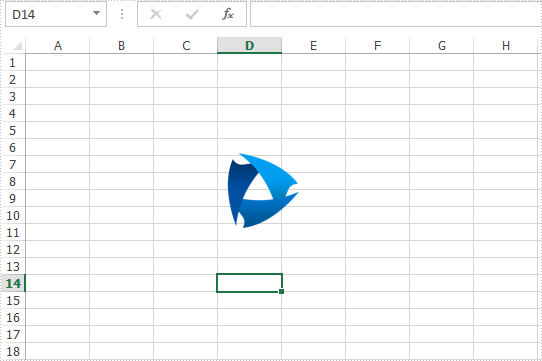
Reset the size and position for the image on Excel worksheet
When we add an image to the Excel worksheet, we always need to reset the size and position for the image to list the image where we want and make the size coordinate with the other elements on the Excel worksheet. This article will focus on demonstrates how to apply picture settings by using Spire.XLS.
Step 1: Initialize an instance of Workbook and get the first worksheet.
Workbook workbook = new Workbook();
Worksheet sheet = workbook.Worksheets[0];
Step 2: Add a picture to the first worksheet.
ExcelPicture picture = sheet.Pictures.Add(1, 1, "Logo.png");
Step 3: Set the size for the picture.
picture.Width = 75;
picture.Height = 75;
Step 4: Set the position for the picture.
picture.Left = 200;
picture.Top = 100;
Step 5: Save the document to file.
workbook.SaveToFile("Output.xlsx",FileFormat.Version2013);
Effective screenshot after reset the size and position for the image:
Full codes:
using Spire.Xls;
namespace ReseSizeandPosition
{
    class Program
    {
        static void Main(string[] args)
        {
            Workbook workbook = new Workbook();
            Worksheet sheet = workbook.Worksheets[0];

            ExcelPicture picture = sheet.Pictures.Add(1, 1, "Logo.png");

            picture.Width = 75;
            picture.Height = 75;

            picture.Left = 200;
            picture.Top = 100;

            workbook.SaveToFile("Output.xlsx", FileFormat.Version2013);
        }
    }
}
Assign an Icon to a PDF Button Field and Set Icon Layout in C#
In PDF, buttons can be assigned icon appearances and each button can have as many as three appearances: Normal, Rollover, and Click. With Spire.PDF, not only can we assign icons to buttons, but also we can change the icons of buttons. In this article, we’re going to show you how to assign an icon to a button and set icon layout using Spire.PDF and C#. As for changing icons, please refer How to change the image on button field in C#.
Code Snippets:
Step 1: Create a PDF document and add a page to it.
PdfDocument doc = new PdfDocument();
PdfPageBase page = doc.Pages.Add();
Step 2: Create a button field.
PdfButtonField btn = new PdfButtonField(page, "button1");
btn.Bounds = new RectangleF(0, 50, 120, 100);
Step 3: Set button layout.
btn.HighlightMode = PdfHighlightMode.Push;
btn.LayoutMode = PdfButtonLayoutMode.CaptionOverlayIcon;
//Set text and icon for Normal appearance
btn.Text = "Normal Text";
btn.Icon = PdfImage.FromFile("Image.png");
//Set text and icon for Click appearance (Can only be set when highlight mode is Push)
btn.AlternateText = "Alternate Text";
btn.AlternateIcon = PdfImage.FromFile("Sunflower.jpg");
//Set text and icon for Rollover appearance (Can only be set when highlight mode is Push)
btn.RolloverText = "Rollover Text";
btn.RolloverIcon = PdfImage.FromFile("PinkRoses.jpg");
Step 4: Set icon layout.
btn.IconLayout.Spaces = new float[] { 0.5f, 0.5f };
btn.IconLayout.ScaleMode = PdfButtonIconScaleMode.Proportional;
btn.IconLayout.ScaleReason = PdfButtonIconScaleReason.Always;
btn.IconLayout.IsFitBounds = false;
Step 5: Add the button to the document.
doc.Form.Fields.Add(btn);
Step 6: Save the document.
doc.SaveToFile("AddIcon.pdf");
The resultant document looks as follows:
![]()
Full code:
using System.Drawing;
using Spire.Pdf;
using Spire.Pdf.Fields;
using Spire.Pdf.Graphics;

namespace Add_Icon_to_PDF_Button_Field
{
    class Program
    {
        static void Main(string[] args)
        {
            //Create a PDF document
            PdfDocument doc = new PdfDocument();
            PdfPageBase page = doc.Pages.Add();

            //Create a Button
            PdfButtonField btn = new PdfButtonField(page, "button1");
            btn.Bounds = new RectangleF(0, 50, 120, 100);
            btn.HighlightMode = PdfHighlightMode.Push;
            btn.LayoutMode = PdfButtonLayoutMode.CaptionOverlayIcon;
            //Set text and icon for Normal appearance
            btn.Text = "Normal Text";
            btn.Icon = PdfImage.FromFile("Image.png");
            //Set text and icon for Click appearance (Can only be set when highlight mode is Push)
            btn.AlternateText = "Alternate Text";
            btn.AlternateIcon = PdfImage.FromFile("Sunflower.jpg");
            //Set text and icon for Rollover appearance (Can only be set when highlight mode is Push)
            btn.RolloverText = "Rollover Text";
            btn.RolloverIcon = PdfImage.FromFile("PinkRoses.jpg");

            //Set icon layout
            btn.IconLayout.Spaces = new float[] { 0.5f, 0.5f };
            btn.IconLayout.ScaleMode = PdfButtonIconScaleMode.Proportional;
            btn.IconLayout.ScaleReason = PdfButtonIconScaleReason.Always;
            btn.IconLayout.IsFitBounds = false;

            //Add the button to the document
            doc.Form.Fields.Add(btn);

            //Save the document
            doc.SaveToFile("AddIcon.pdf");
        }
    }
}
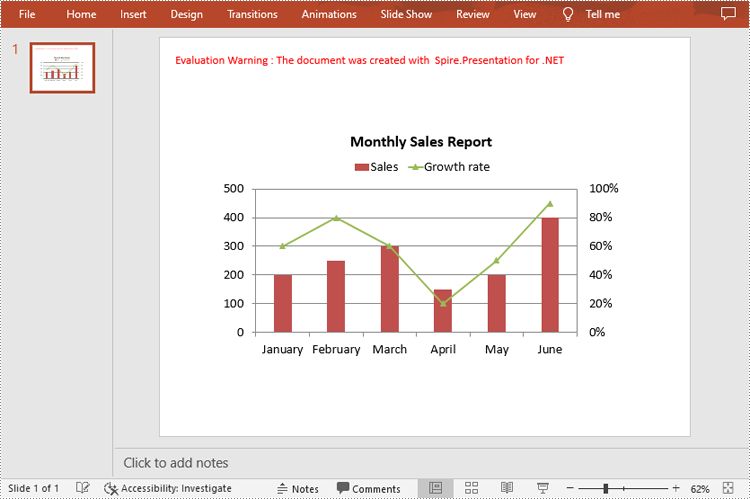
C#/VB.NET: Create a Combination Chart in PowerPoint
In PowerPoint, a combination chart is a type of chart that combines two or more different chart types into a single chart. It allows you to display multiple sets of data in the same chart, making it easier to compare and analyze different variables. In this article, you will learn how to programmatically create a combination chart in a PowerPoint presentation using Spire.Presentation for .NET.
Install Spire.Presentation for .NET
To begin with, you need to add the DLL files included in the Spire.Presentation for.NET package as references in your .NET project. The DLL files can be either downloaded from this link or installed via NuGet.
PM> Install-Package Spire.Presentation
Create a Combination Chart in PowerPoint in C# and VB.NET
Spire.Presentation for .NET offers the ISlide.Shapes.AppendChart(ChartType type, RectangleF rectangle) method to add a certain chart type to a slide, and then you can change the chart type of the second series to another chart to create a combo chart. The following are the steps to combine a column chart and a line chart in PowerPoint.
- Create a Presentation instance.
- Get a specified slide and add a column chart to it using ISlide.Shapes.AppendChart(ChartType.ColumnClustered, RectangleF rectangle) method.
- Create a DataTable object and add some data, then import data from data table to chart data.
- Set the chart title, categories labels, series labels and series values.
- Change the chart type of the second series to a line chart with data markers using IChart.Series[int index].Type property.
- Plot the second series on the secondary value axis by setting the IChart.Series[int index].UseSecondAxis property to true.
- Set the number format and gridlines of the secondary value axis.
- Save the result document using Presentation.SaveToFile() method.
- C#
- VB.NET
using Spire.Presentation;
using Spire.Presentation.Charts;
using Spire.Presentation.Drawing;
using System;
using System.Data;
using System.Drawing;

namespace CombinationChart
{
    class Program
    {
        static void Main(string[] args)
        {
            //Create a Presentation instance
            Presentation presentation = new Presentation();

            //Add a column clustered chart to the first slide
            RectangleF rect = new RectangleF(80, 120, 550, 320);
            IChart chart = presentation.Slides[0].Shapes.AppendChart(ChartType.ColumnClustered, rect);

            //Set and format chart title
            chart.ChartTitle.TextProperties.Text = "Monthly Sales Report";
            chart.ChartTitle.TextProperties.IsCentered = true;
            chart.ChartTitle.Height = 30;
            chart.HasTitle = true;

            //Create a datatable and add some data
            DataTable dataTable = new DataTable();
            dataTable.Columns.Add(new DataColumn("Month", Type.GetType("System.String")));
            dataTable.Columns.Add(new DataColumn("Sales", Type.GetType("System.Int32")));
            dataTable.Columns.Add(new DataColumn("Growth rate", Type.GetType("System.Decimal")));
            dataTable.Rows.Add("January", 200, 0.6);
            dataTable.Rows.Add("February", 250, 0.8);
            dataTable.Rows.Add("March", 300, 0.6);
            dataTable.Rows.Add("April", 150, 0.2);
            dataTable.Rows.Add("May", 200, 0.5);
            dataTable.Rows.Add("June", 400, 0.9);

            //Import data from datatable to chart data
            for (int c = 0; c < dataTable.Columns.Count; c++)
            {
                chart.ChartData[0, c].Text = dataTable.Columns[c].Caption;
            }
            for (int r = 0; r < dataTable.Rows.Count; r++)
            {
                object[] datas = dataTable.Rows[r].ItemArray;
                for (int c = 0; c < datas.Length; c++)
                {
                    chart.ChartData[r + 1, c].Value = datas[c];

                }
            }

            //Set series labels
            chart.Series.SeriesLabel = chart.ChartData["B1", "C1"];

            //Set categories labels
            chart.Categories.CategoryLabels = chart.ChartData["A2", "A7"];

            //Assign data to series values
            chart.Series[0].Values = chart.ChartData["B2", "B7"];
            chart.Series[1].Values = chart.ChartData["C2", "C7"];

            //Change the chart type of series 2 to a line chart with data markers
            chart.Series[1].Type = ChartType.LineMarkers;

            //Plot data of series 2 on the secondary axis
            chart.Series[1].UseSecondAxis = true;

            //Set the number format of the secondary value axis
            chart.SecondaryValueAxis.NumberFormat = "0%";

            //Hide the gridlines of the secondary value axis
            chart.SecondaryValueAxis.MajorGridTextLines.FillType = FillFormatType.None;

            //Set the legend position
            chart.ChartLegend.Position = ChartLegendPositionType.Top;

            //Set overlap
            chart.OverLap = -50;

            //Set gapwidth
            chart.GapWidth = 200;

            //Save the result document
            presentation.SaveToFile("CombinationChart.pptx", FileFormat.Pptx2010);
        }
    }
}
Apply for a Temporary License
If you'd like to remove the evaluation message from the generated documents, or to get rid of the function limitations, please request a 30-day trial license for yourself.
Copy a paragraph from one presentation slide to another in C#
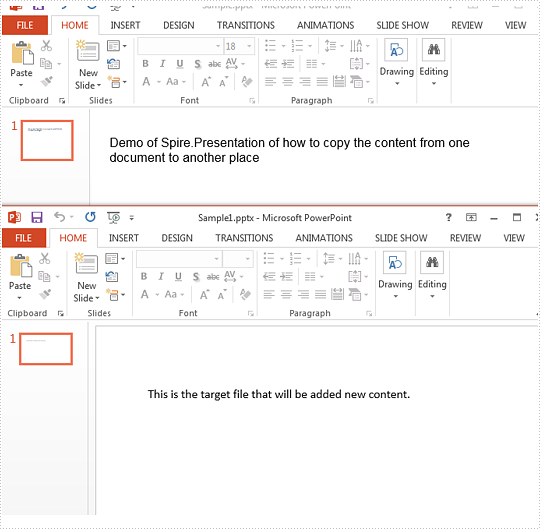
In our daily work, we may need to copy the contents from one presentation slides to another. This article is aimed to introduce the method of how to copy the content from one paragraph from the source PowerPoint document to the target document by using Spire.Presenation.
Firstly, View the original presentation slide and the target presentation slide.
Step 1: Initialize an instances of Presentation class and load the source document from file
Presentation ppt = new Presentation();
ppt.LoadFromFile("Sample.pptx", FileFormat.Pptx2010);
Step 2: Get the text from the first shape on the first slide.
string Text = "";
IShape shp = ppt.Slides[0].Shapes[0];
Text = ((IAutoShape)shp).TextFrame.Text;
Step 3: Get the first shape on the first slide from the target document file.
Presentation ppt2 = new Presentation("Sample1.pptx", FileFormat.Pptx2010);
IShape destshp = ppt2.Slides[0].Shapes[0];
Step 4: Get text from placeholder.
((IAutoShape)destshp).TextFrame.Text += Text;
Step 5: Save the document to file.
ppt2.SaveToFile("Sample1.pptx", FileFormat.Pptx2010);
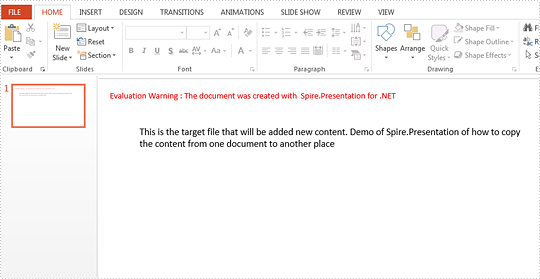
Effective screenshot after copy the paragraph from the source file:
Full codes:
using Spire.Presentation;
namespace CoppyParagh
{
    class Program
    {
        static void Main(string[] args)
        {

            Presentation ppt = new Presentation();
            ppt.LoadFromFile("Sample.pptx", FileFormat.Pptx2010);

            string Text = "";
            IShape shp = ppt.Slides[0].Shapes[0];
            Text = ((IAutoShape)shp).TextFrame.Text;

            Presentation ppt2 = new Presentation("Sample1.pptx", FileFormat.Pptx2010);
            IShape destshp = ppt2.Slides[0].Shapes[0];
            ((IAutoShape)destshp).TextFrame.Text += Text;

            ppt2.SaveToFile("Sample1.pptx", FileFormat.Pptx2010);


        }
    }
}
Create Navigation Buttons in PDF in C#/VB.NET
A navigation button in a PDF document can redirect users from one page to another. For instance, when a navigation button is clicked, we can jump to the next/last page or return to the previous/first page. This article will introduce how to create such a navigation button in PDF using Spire.PDF.
Step 1: Initialize an instance of PdfDocument class and load a PDF document.
PdfDocument doc = new PdfDocument();
doc.LoadFromFile(@"C:\Users\Administrator\Desktop\Sales Report.pdf");
Step 2: Enable creation of form fields in the document.
doc.AllowCreateForm = true;
Step 3: Get the last page.
PdfPageBase page = doc.Pages[doc.Pages.Count-1];
Step 4: Create a button field and specify the button name, tooltip and border style.
PdfButtonField button = new PdfButtonField(page, "Return to First Page");
button.Bounds = new RectangleF(page.ActualSize.Width/2-50, 400, 100, 20);
button.BorderColor = new PdfRGBColor(Color.AliceBlue);
button.BorderStyle = PdfBorderStyle.Solid;
button.ToolTip = "First Page";
button.Font = new PdfFont(PdfFontFamily.Helvetica, 7f,PdfFontStyle.Bold);
Step 5: Create a PdfNamedAction that goes to the named destination (previous, next, first or last page) and add the action to the button field.
PdfNamedAction namedAction = new PdfNamedAction(PdfActionDestination.FirstPage);
button.Actions.GotFocus = namedAction;
Step 6: Add the button to the document.
doc.Form.Fields.Add(button);
doc.SaveToFile("NavigationButton.pdf", FileFormat.PDF);
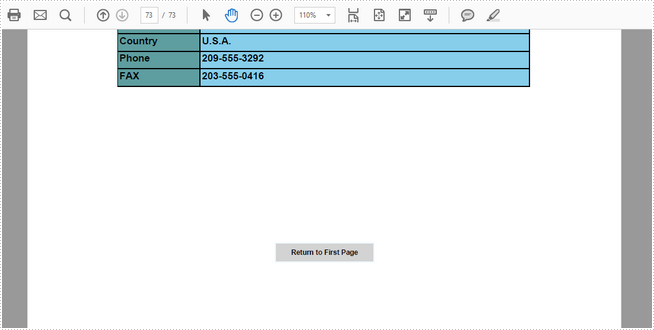
Output:
Full Code:
using Spire.Pdf;
using Spire.Pdf.Actions;
using Spire.Pdf.Fields;
using Spire.Pdf.Graphics;
using System.Drawing;

namespace NavigationButtons
{
    class Program
    {
        static void Main(string[] args)
        {
            PdfDocument doc = new PdfDocument();
            doc.LoadFromFile(@"C:\Users\Administrator\Desktop\Sales Report.pdf");
            doc.AllowCreateForm = true;
            PdfPageBase page = doc.Pages[doc.Pages.Count - 1];

            PdfButtonField button = new PdfButtonField(page, "Return to First Page");
            button.Bounds = new RectangleF(page.ActualSize.Width / 2 - 50, 400, 100, 20);
            button.BorderColor = new PdfRGBColor(Color.AliceBlue);
            button.BorderStyle = PdfBorderStyle.Solid;
            button.ToolTip = "First Page";
            button.Font = new PdfFont(PdfFontFamily.Helvetica, 7f, PdfFontStyle.Bold);

            PdfNamedAction namedAction = new PdfNamedAction(PdfActionDestination.FirstPage);
            button.Actions.GotFocus = namedAction;

            doc.Form.Fields.Add(button);
            doc.SaveToFile("NavigationButton.pdf", FileFormat.PDF);
        }
    }
}
Imports Spire.Pdf
Imports Spire.Pdf.Actions
Imports Spire.Pdf.Fields
Imports Spire.Pdf.Graphics
Imports System.Drawing

Namespace NavigationButtons
	Class Program
		Private Shared Sub Main(args As String())
			Dim doc As New PdfDocument()
			doc.LoadFromFile("C:\Users\Administrator\Desktop\Sales Report.pdf")
			doc.AllowCreateForm = True
			Dim page As PdfPageBase = doc.Pages(doc.Pages.Count - 1)

			Dim button As New PdfButtonField(page, "Return to First Page")
			button.Bounds = New RectangleF(page.ActualSize.Width / 2 - 50, 400, 100, 20)
			button.BorderColor = New PdfRGBColor(Color.AliceBlue)
			button.BorderStyle = PdfBorderStyle.Solid
			button.ToolTip = "First Page"
			button.Font = New PdfFont(PdfFontFamily.Helvetica, 7F, PdfFontStyle.Bold)

			Dim namedAction As New PdfNamedAction(PdfActionDestination.FirstPage)
			button.Actions.GotFocus = namedAction

			doc.Form.Fields.Add(button)
			doc.SaveToFile("NavigationButton.pdf", FileFormat.PDF)
		End Sub
	End Class
End Namespace
Get a list of the worksheet names in an Excel workbook
When we deal with a workbook with a large number of worksheets, we may need to get the names of those worksheets and then it is easy for us to find the information we want. This article will demonstrate how to use Spire.XLS to get a list of the worksheets in the workbook in two parts.
Get a list of all the worksheet names in a workbook.
using Spire.Xls;
using Spire.Xls.Collections;
using System;
namespace WorksheetName
{
    class Program
    {

        static void Main(string[] args)
        {
            const string DEMOFILE = @"Sample.xlsx";

            var results = GetAllWorksheets(DEMOFILE);

            foreach (Worksheet item in results)
            {
                Console.WriteLine(item.Name);
            }
            Console.ReadLine();
        }
        public static WorksheetsCollection GetAllWorksheets(string fileName)
        {
            //Initialize a new Workboook object
            Workbook workbook = new Workbook();

            //Load the document
            workbook.LoadFromFile(fileName);

            //Get all worksheets
            WorksheetsCollection worksheets = workbook.Worksheets;

            return worksheets;
        }
    }
}
=
Get a list of the hidden worksheet names in a workbook
static void Main(string[] args)
 {
     const string DEMOPATH = @"Sample.xlsx";
     List sheets = GetHiddenSheets(DEMOPATH);
     foreach (var sheet in sheets)
     {
         Console.WriteLine(sheet.Name);
     }
     Console.ReadLine();
 }
 public static List GetHiddenSheets(string fileName)
 {
     List returnVal = new List();

     //Initialize a new Workboook object
     Workbook workbook = new Workbook();

     //Load the document
     workbook.LoadFromFile(fileName);

     //Judge whether a worksheet is hidden
     foreach (Worksheet sheet in workbook.Worksheets)
     {
         if (sheet.Visibility == WorksheetVisibility.Hidden)
         {
             returnVal.Add(sheet);
         }
     }
     return returnVal;
 }
Replace Image with new Image in Word using C#
Replacing image with text or image in a Word document is possible in Spire.Doc. We've already illustrated how to replace image with text, in this tutorial, we will show you how to replace a specified image with another image using Spire.Doc and C#.
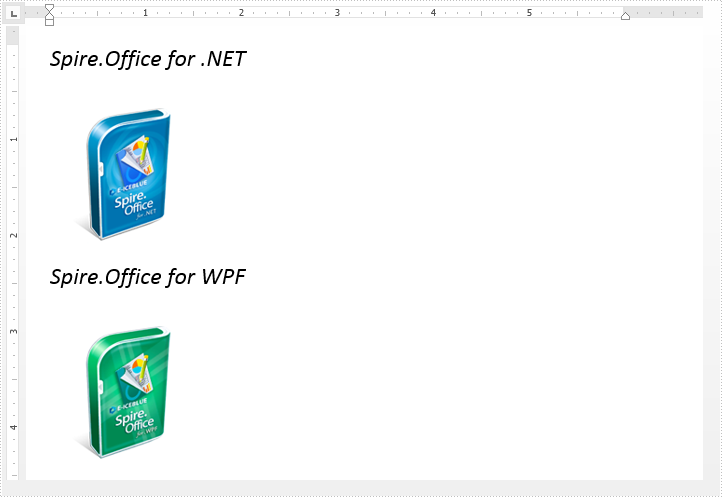
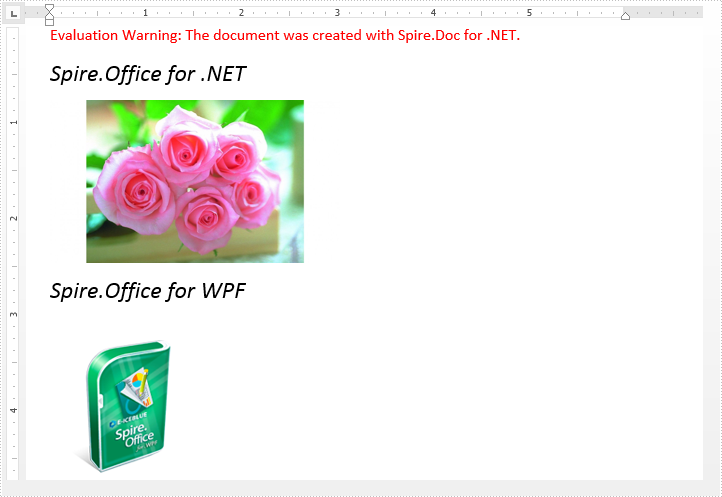
Below is the original Word document before replacing image:
Code Snippet:
Step 1: Load the Word document.
Document document = new Document("Input.docx");
Step 2: Replace the image which title is "Figure 1" with new image.
//Loop through the paragraphs of the section
foreach (Paragraph paragraph in document.Sections[0].Paragraphs)
{
    //Loop through the child elements of paragraph
    foreach (DocumentObject docObj in paragraph.ChildObjects)
    {
        if (docObj.DocumentObjectType == DocumentObjectType.Picture)
        {
            DocPicture picture = docObj as DocPicture;
            if (picture.Title == "Figure 1")
            {
                //Replace the image
                picture.LoadImage(Image.FromFile("PinkRoses.jpg"));
            }
        }
    }
}
Step 3: Save and close the document.
document.SaveToFile("ReplaceImage.docx");
document.Close();
The resultant document looks as follows:
Full code:
using System.Drawing;
using Spire.Doc;
using Spire.Doc.Documents;
using Spire.Doc.Fields;

namespace Replace_Image
{
    class Program
    {
        static void Main(string[] args)
        {
            //Load the Word document
            Document document = new Document("Input.docx");

            //Loop through the paragraphs of the section
            foreach (Paragraph paragraph in document.Sections[0].Paragraphs)
            {
                //Loop through the child elements of paragraph
                foreach (DocumentObject docObj in paragraph.ChildObjects)
                {
                    if (docObj.DocumentObjectType == DocumentObjectType.Picture)
                    {
                        DocPicture picture = docObj as DocPicture;
                        if (picture.Title == "Figure 1")
                        {
                            //Replace the image
                            picture.LoadImage(Image.FromFile("PinkRoses.jpg"));
                        }
                    }
                }
            }

            //Save and close the document
            document.SaveToFile("ReplaceImage.docx");
            document.Close();
        }
    }
}
Text replacement on the presentation slides
By using Spire.Presentation for .NET, developers can easily modify the texts on the presentation slides. In this topic, we are going to demonstrate how to use Spire.Presentation to replace the specific texts in a placeholder in C#.
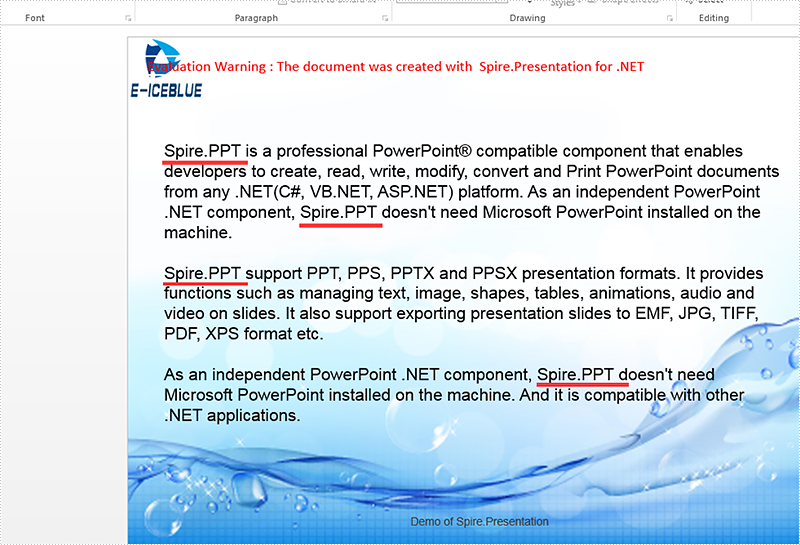
Firstly, view the original sample document that the text "Spire.Presentation for .NET" will be replaced later.

Step 1: Create an instance of Dictionary<string,string> and add an item for the instance.
Dictionary<string, string> TagValues = new Dictionary<string, string>();
TagValues.Add("Spire.Presentation for .NET", "Spire.PPT");
Step 2: Create a presentation instance and load the document from file.
Presentation presentation = new Presentation();
presentation.LoadFromFile("Sample.pptx", FileFormat.Pptx2010);
Step 3: Call ReplaceTags event to replace all the texts on the first slide.
ReplaceTags(presentation.Slides[0], TagValues);
Step 4: Save the document to file and lance to process it.
presentation.SaveToFile("Result.pptx", FileFormat.Pptx2010);
System.Diagnostics.Process.Start("Result.pptx");
The following ReplaceTags() method shows how to replace the text on the first presentation slide:
public void ReplaceTags(Spire.Presentation.ISlide pSlide, Dictionary<string, string> TagValues)
{
    foreach (IShape curShape in pSlide.Shapes)
    {
        if (curShape is IAutoShape)
        {
            foreach (TextParagraph tp in (curShape as IAutoShape).TextFrame.Paragraphs)
            {
                foreach (var curKey in TagValues.Keys)
                {
                    if (tp.Text.Contains(curKey))
                    {
                        tp.Text = tp.Text.Replace(curKey, TagValues[curKey]);
                    }
                }
            }
        }
    }
}
Effective screenshot after the replacing the text on the presentation slide:
Full codes of how to replace the text on the presentation slides:
public ReplaceText()
{
    {
        Dictionary<string, string> TagValues = new Dictionary<string, string>();
        TagValues.Add("Spire.Presentation for .NET", "Spire.PPT");

        Presentation presentation = new Presentation();

        presentation.LoadFromFile("Sample.pptx", FileFormat.Pptx2010);

        ReplaceTags(presentation.Slides[0], TagValues);

        presentation.SaveToFile("Result.pptx", FileFormat.Pptx2010);
        System.Diagnostics.Process.Start("Result.pptx");
    }
}
public void ReplaceTags(Spire.Presentation.ISlide pSlide, Dictionary<string, string> TagValues)
{
    foreach (IShape curShape in pSlide.Shapes)
    {
        if (curShape is IAutoShape)
        {
            foreach (TextParagraph tp in (curShape as IAutoShape).TextFrame.Paragraphs)
            {
                foreach (var curKey in TagValues.Keys)
                {
                    if (tp.Text.Contains(curKey))
                    {
                        tp.Text = tp.Text.Replace(curKey, TagValues[curKey]);
                    }
                }
            }
        }
    }
}
Add a Print Button to a PDF Document in C#
Adding print button to PDF document is possible in Spire.PDF, when the button is clicked, the print dialog will be opened. In this tutorial, I'm going to show you how to add a print button to an existing pdf document using Spire.PDF.
To accomplish the task, first you need to create an instance of the PdfButtonField class. This class also allows you to define the appearance of the button. For instance, you can set text, color of text, background color, border color etc. of the button. Second you need to add the print action to the button by calling the AddPrintAction() method. At last, add the button to the document and save the document to file. The following code example explains the same.
Code snippets:
Step 1: Load the PDF document and enable form creation.
PdfDocument doc = new PdfDocument("Input.pdf");
doc.AllowCreateForm = true;
Step 2: Get the first page.
PdfPageBase page = doc.Pages[0];
Step 3: Create a PdfButtonField instance and set properties for the button.
PdfButtonField button = new PdfButtonField(page, "Print");
button.Bounds = new RectangleF(280, 600, 50, 20);
button.BorderColor = new PdfRGBColor(Color.AliceBlue);
button.BorderStyle = PdfBorderStyle.Solid;
button.ForeColor = new PdfRGBColor(Color.White);
button.BackColor = new PdfRGBColor(Color.Blue);
button.ToolTip = "Print";
button.Font = new PdfFont(PdfFontFamily.Helvetica, 9f);
Step 4: Add print action to the button.
button.AddPrintAction();
Step 5: Add the button to the document.
doc.Form.Fields.Add(button);
Step 6: Save the document.
doc.SaveToFile("Output.pdf");
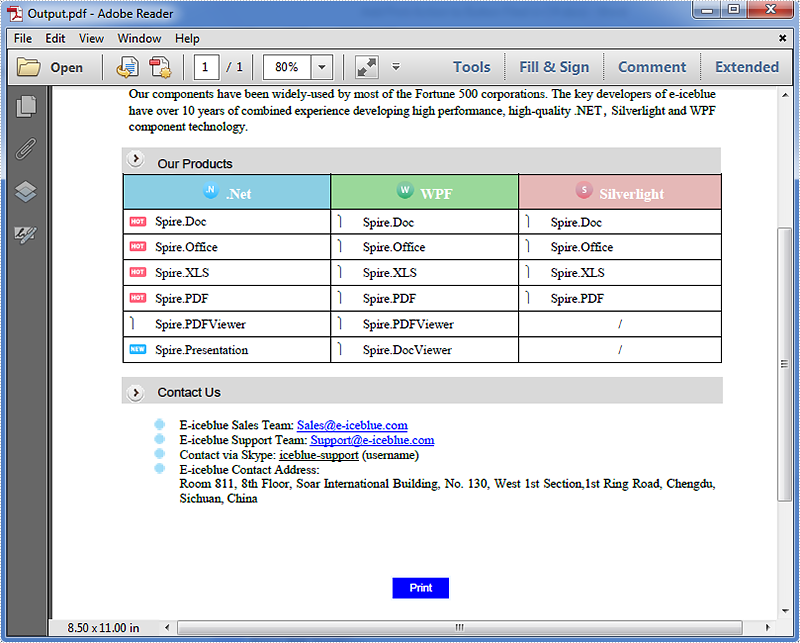
The resultant document looks as follows:
Full code:
using System.Drawing;
using Spire.Pdf;
using Spire.Pdf.Fields;
using Spire.Pdf.Graphics;

namespace Add_print_button
{
    class Program
    {
        static void Main(string[] args)
        {
            //Load the PDF document
            PdfDocument doc = new PdfDocument("Input.pdf");
            //Enable form creation
            doc.AllowCreateForm = true;
            //Get the first page
            PdfPageBase page = doc.Pages[0];

            //Create a PdfButtonField instance
            PdfButtonField button = new PdfButtonField(page, "Print");
            //Set button properties
            button.Bounds = new RectangleF(280, 600, 50, 20);
            button.BorderColor = new PdfRGBColor(Color.AliceBlue);
            button.BorderStyle = PdfBorderStyle.Solid;
            button.ForeColor = new PdfRGBColor(Color.White);
            button.BackColor = new PdfRGBColor(Color.Blue);
            button.ToolTip = "Print";
            button.Font = new PdfFont(PdfFontFamily.Helvetica, 9f);

            //Add print action to the button
            button.AddPrintAction();

            //Add the button to document
            doc.Form.Fields.Add(button);

            //Save the document
            doc.SaveToFile("Output.pdf");
        }
    }
}