
Spire.Cloud.Office is an Office suite that contains online editors for Word and Excel documents. It can be installed on your local server and integrated into your own web application to view, create & edit Word and Excel documents. This guide will teach you how to install Spire.Cloud.Office on Windows system.
Step 1. Install Spire.Cloud.Office
1) Download the installer of Spire.Could.Office for Windows.
2) Turn off the antivirus program if you have any.
3) Run the installer and follow the wizard steps.
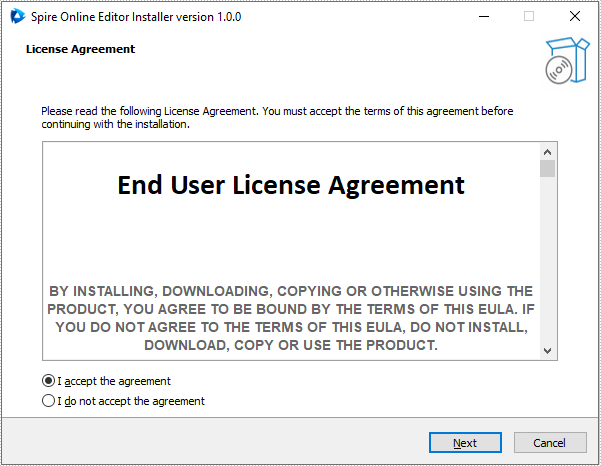
Choose "I accept the agreement" and press "Next".
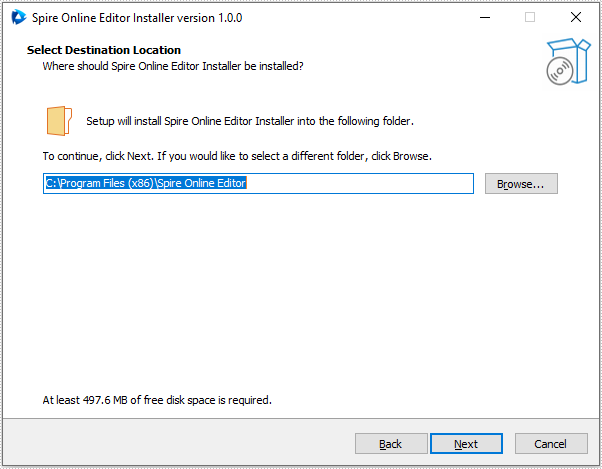
Set install location and go to the next step. Please make sure that your user account has appropriate permissions to access the specified installation directory, otherwise you may fail to bind the license later.
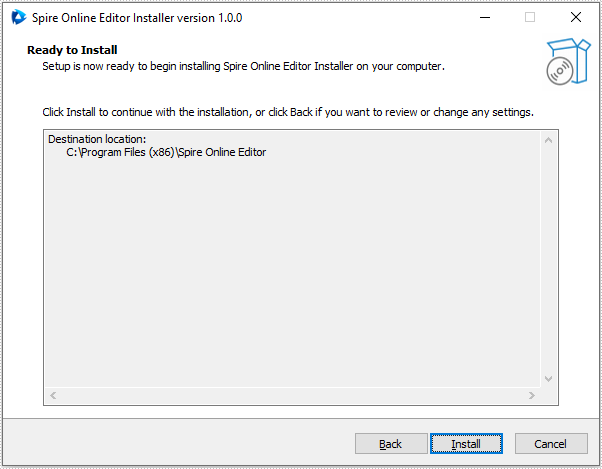
Press "Install" to install Spire.Cloud.Office for .NET to the specified location.
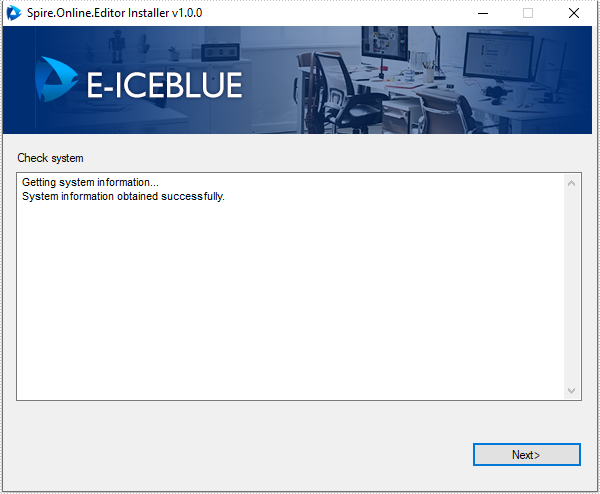
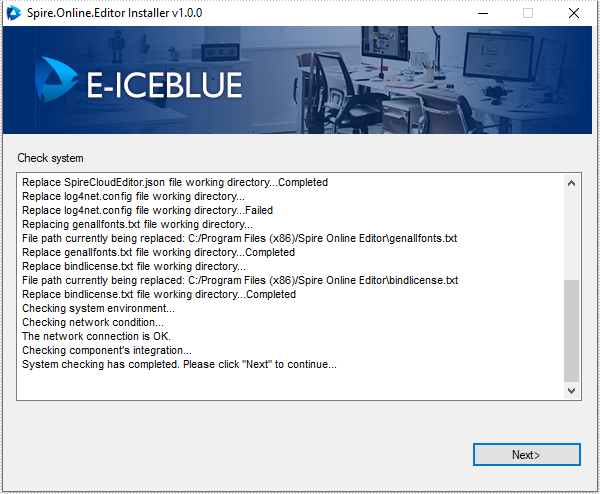
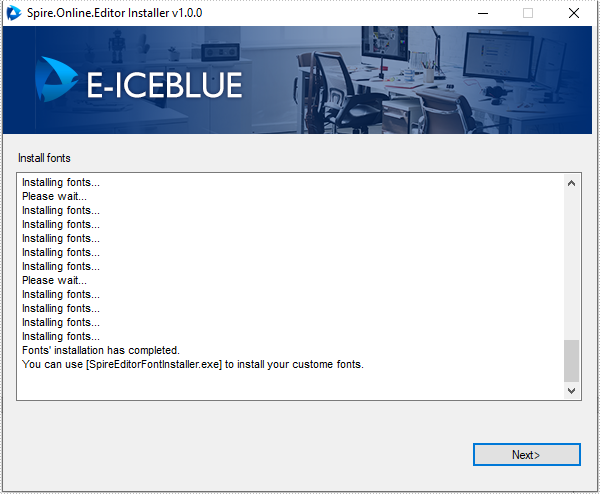
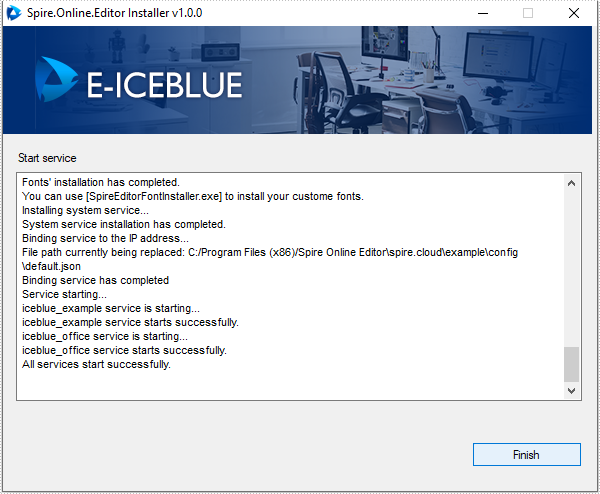
Press "Next" to accomplish system checking and fonts’ installation.
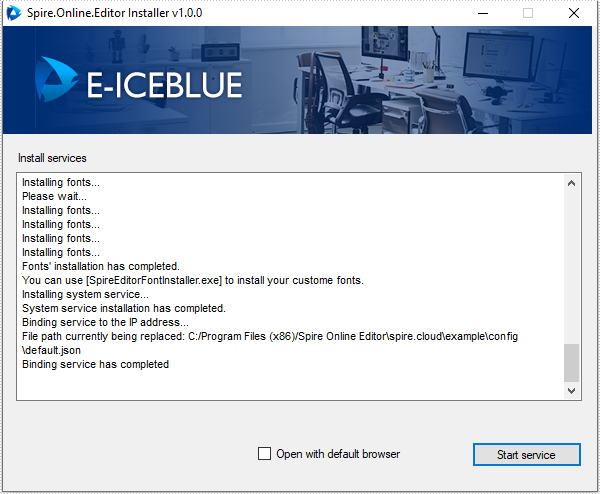
Press "Start service" to start the service and then click "Finish" to finish the installation.

Step 2. Bind License
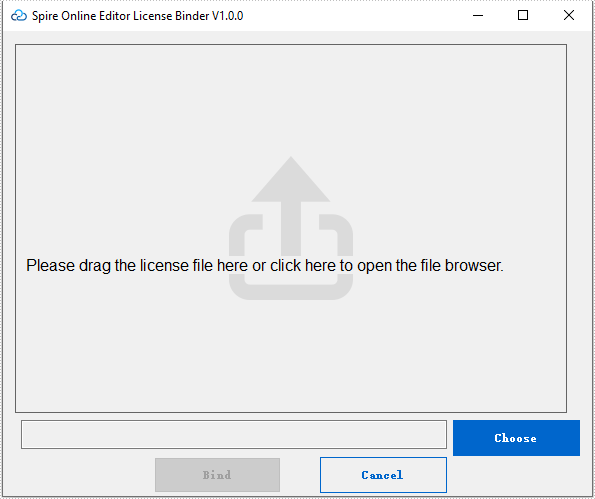
A license is required to run Spire.Cloud.Office for .NET editor, please contact our sales department (sales@e-iceblue.com) to request one. Then follow the steps below to bind the license.
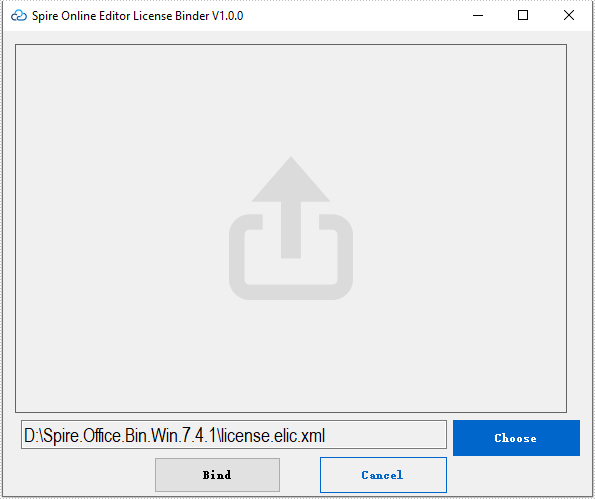
Drag the license (license.elic.xml) to the wizard or press "Choose" to choose the license from your system.
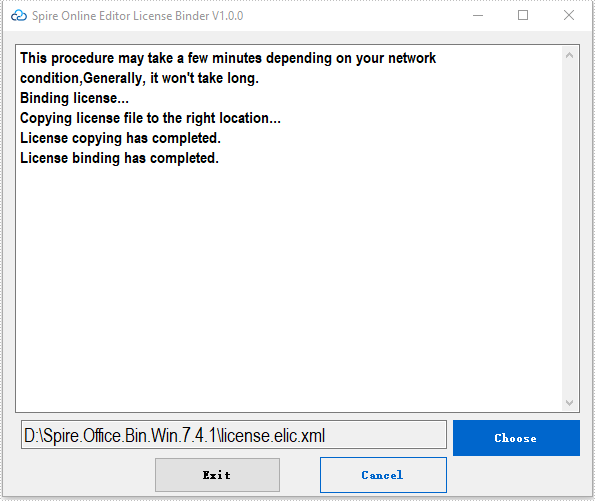
Press "Bind" to bind the license.
After the license binding has completed, press "Exit" to quit the wizard.
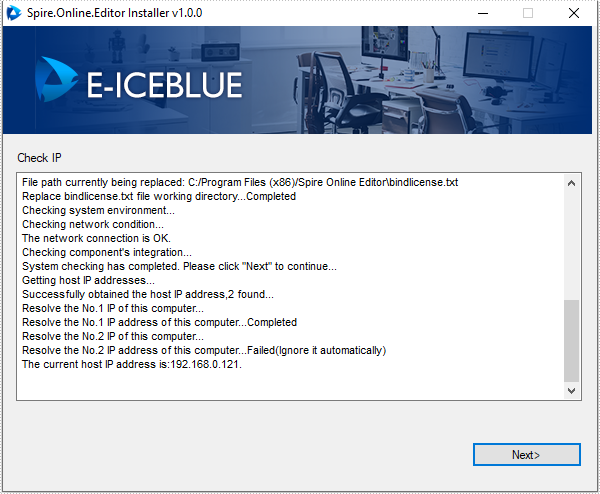
Now, Spire.Cloud.Office for .NET is ready for use. If you type "[your server ip]:3000" (in this article, we use 192.168.0.121:3000) in your browser's address bar and press enter, the following page will appear:
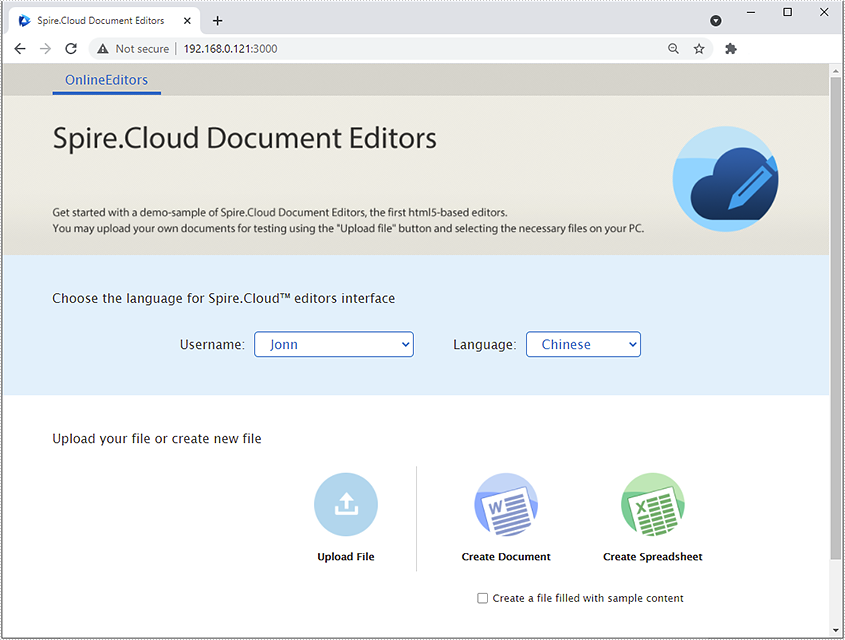
You can upload an existing Word/Excel file or create a new one from scratch by selecting the "Upload File" or "Create Document/Spreadsheet" option. Here we upload an existing Word file:

